Software Guide - Aryson SharePoint Migration Tool
-
Table of Content
- Software Working Process
- Activation Guide
- Installation & Uninstallation
- User Interface
Software Working Process
Software Working Process
Follow the Steps to Convert Migrate One SharePoint to Another SharePoint Account
Step 1: Install and launch the Aryson SharePoint Migration Tool as an administrator.
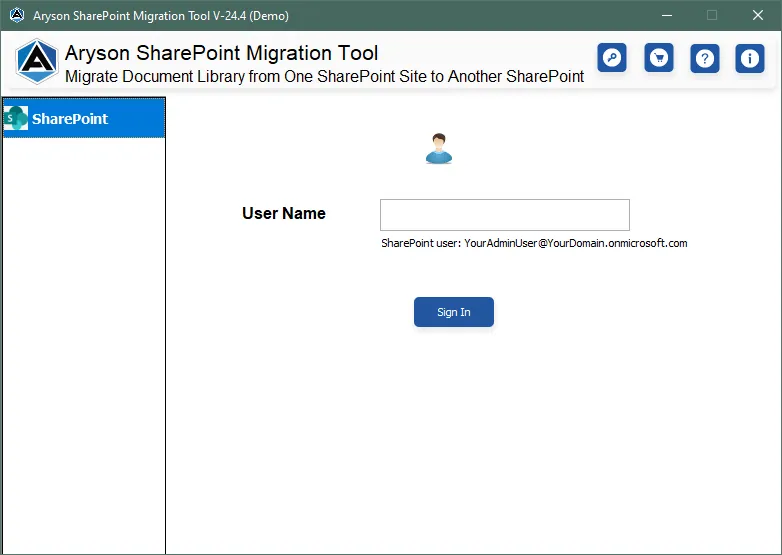
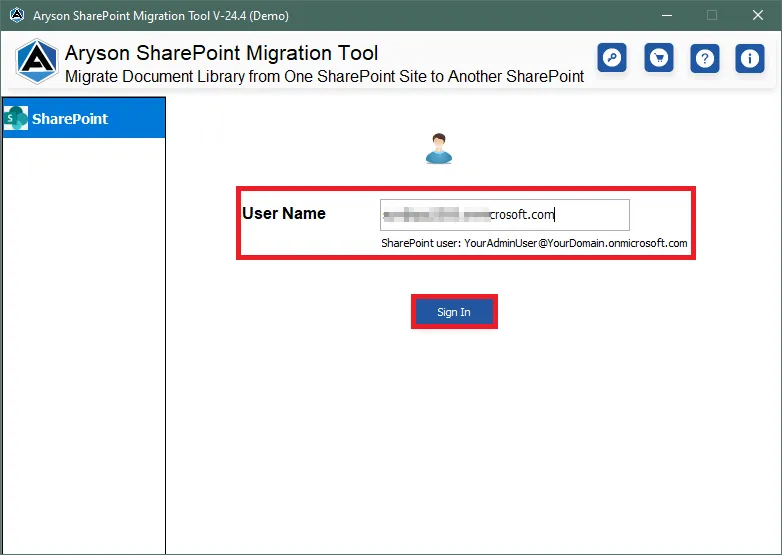
Step 2: Now, enter the SharePoint Credentials and then click on the Sign In button.
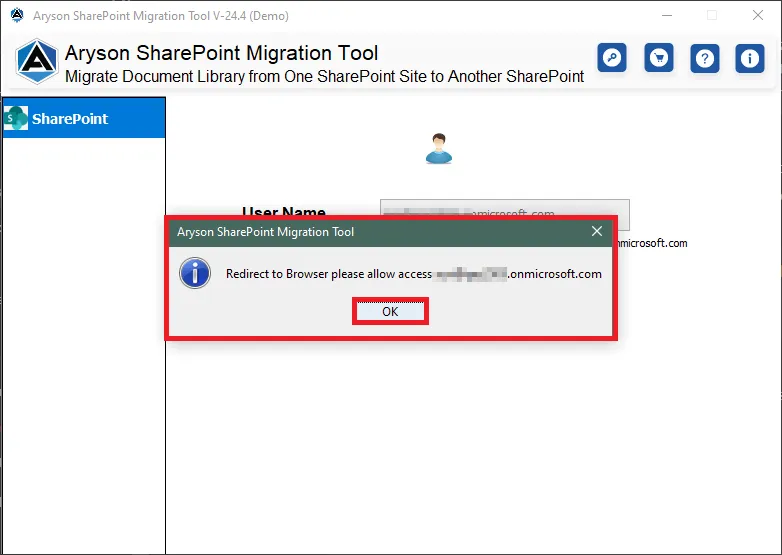
Step 3: Now, click on the OK button on the pop-up window. By clicking this you will be redirected to your default browser to complete the Authentication process.
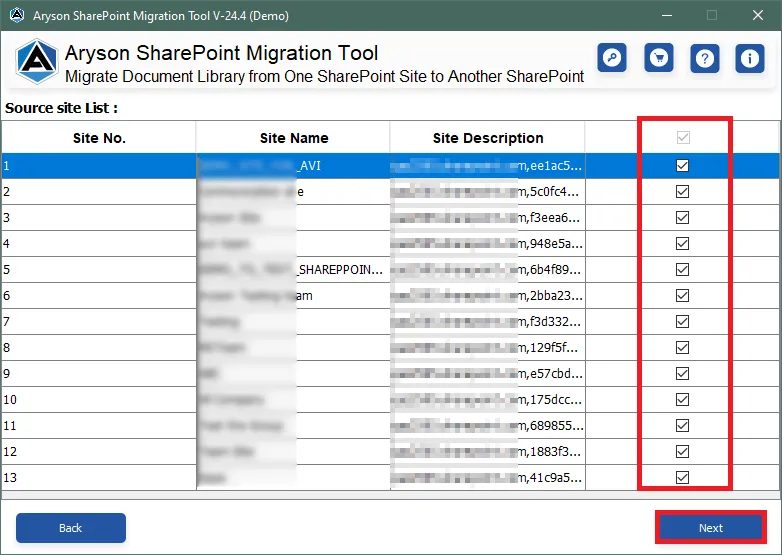
Step 4: Furthermore,Select the Desired SharePoint Site from the Site list and click on the Next button.
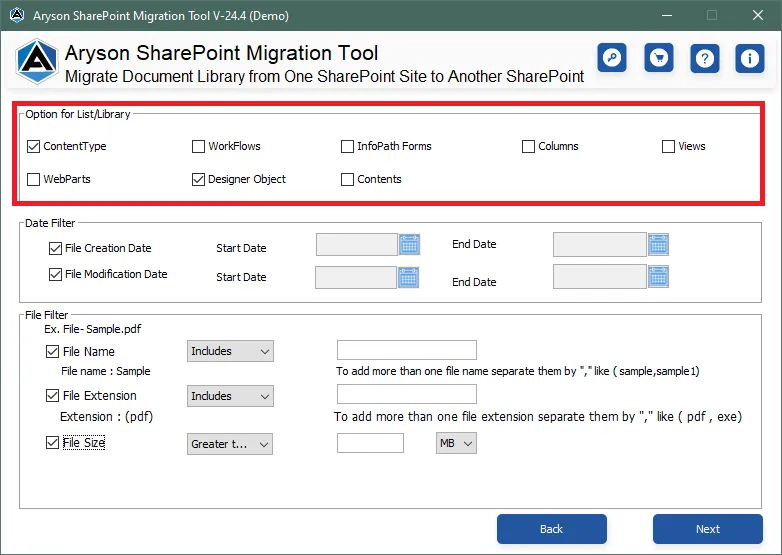
Step 5: Additionally, opt for the optional Features/Filters for selecting Options for List/Library:
- ContentType
- WorkFlows
- InfoPath Forms
- Columns
- Views
- WebParts
- Designer Object
- Contents
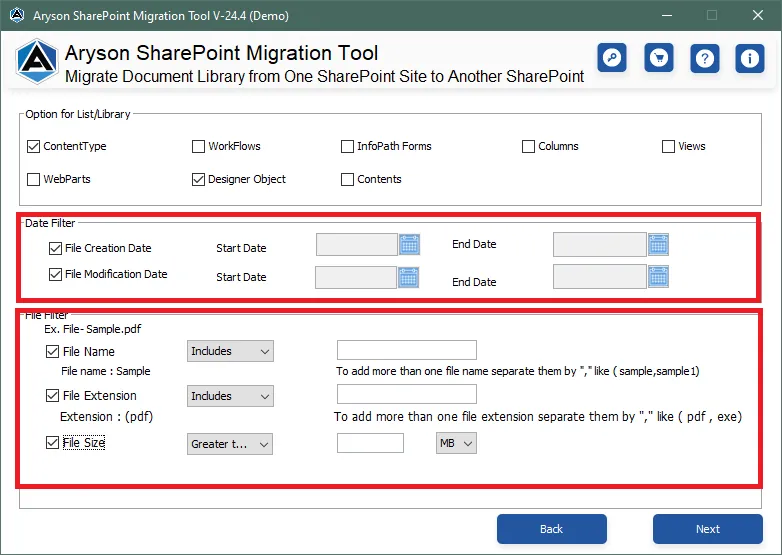
Step 6: Some other advanced Filters that the software offers are:
- Date Filter
- File Filter
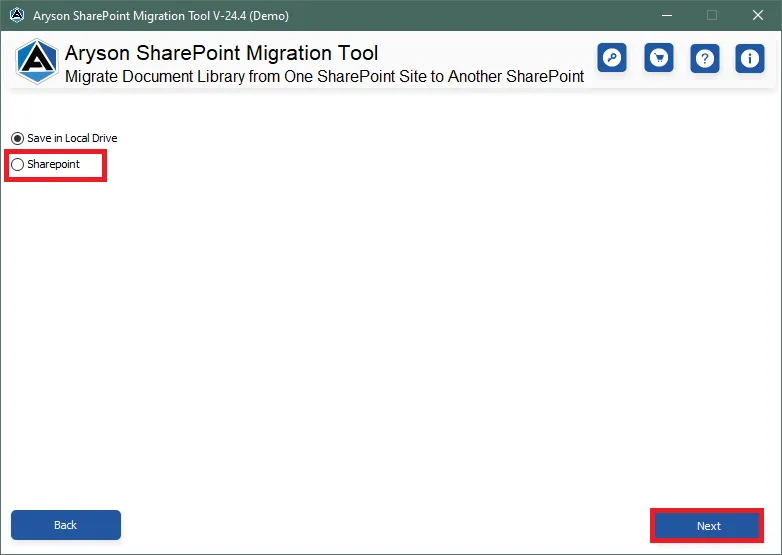
Step 7: Now select the option SharePoint to migrate the SharePoint Data to Another SharePoint Account. Then click on the Next button.
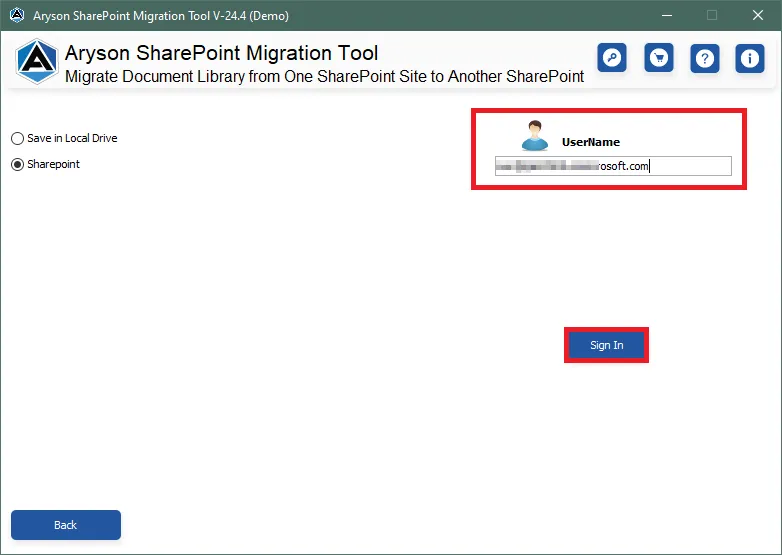
Step 8: Enter the SharePoint Email Address to which you want to migrate and then click on the Sign In button.
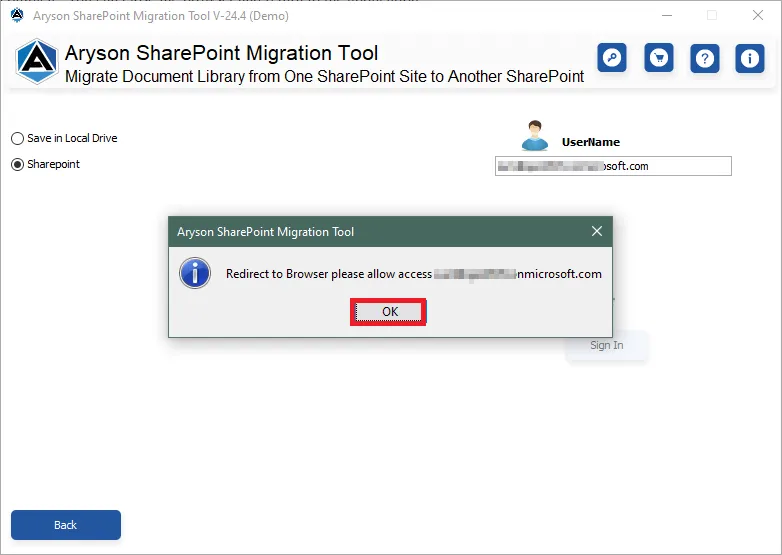
Step 9: Now click OK on the pop-up window. You will be redirected to your default browser to authenticate your SharePoint Account.
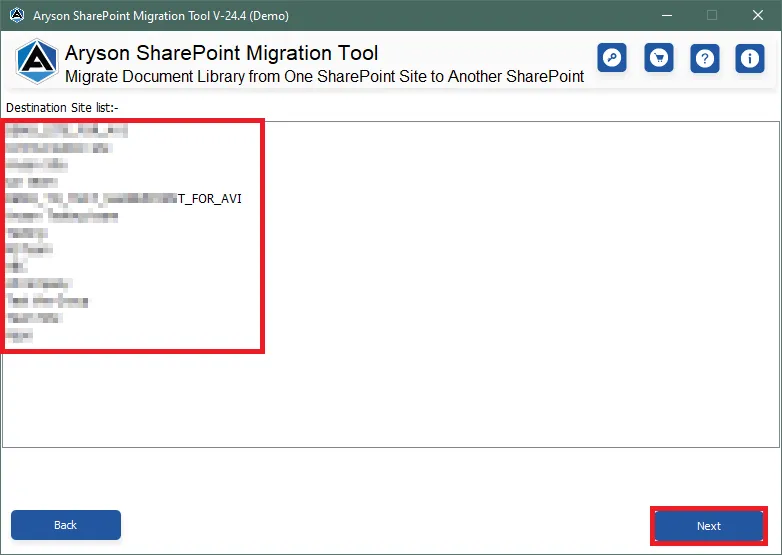
Step 10: Review the Destination Site List and then click on the Next button to proceed further.
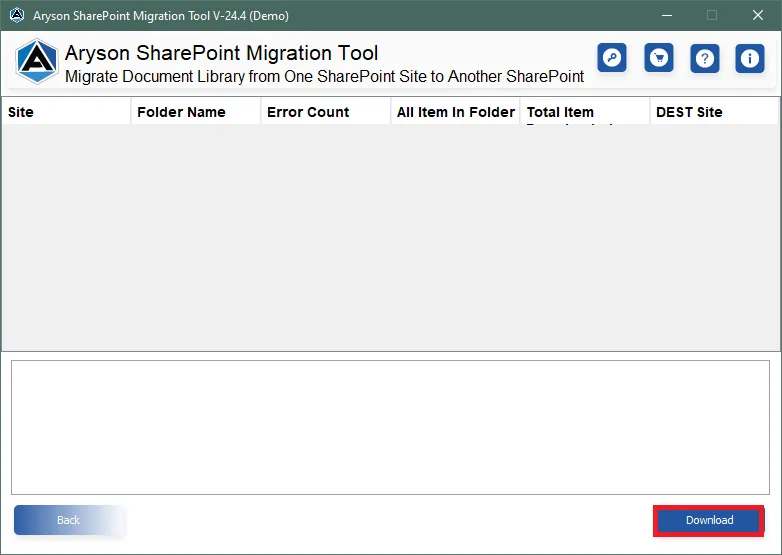
Step 11: Finally, click on the Download button to initiate the migration process.
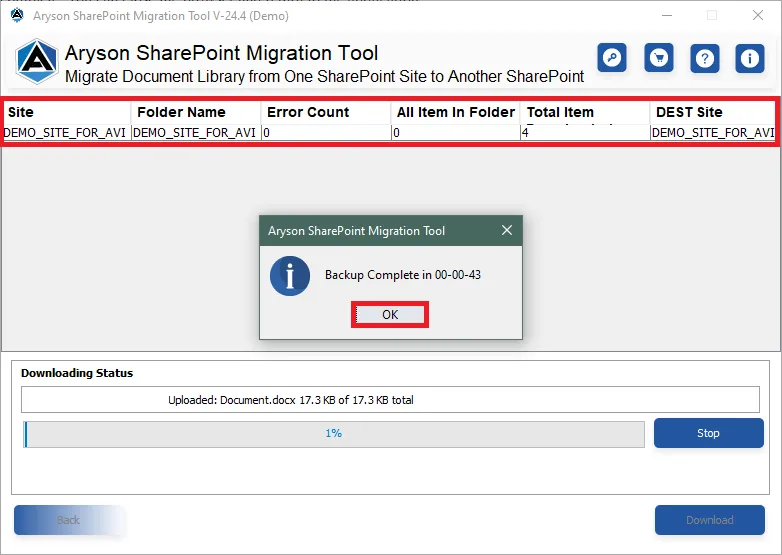
Step 12: After the migration is done successfully click on the OK button and view the detailed report.
Follow the Locally Backup SharePoint Data on Your System
Step 1: Install and launch the Aryson SharePoint Migration Tool as an administrator.
Step 2: Now, enter the SharePoint Credentials and then click on the Sign In button.
Step 3: Now, click on the OK button on the pop-up window. By clicking this you will be redirected to your default Browser to complete the Authentication process.
Step 4: Furthermore,Select the Desired SharePoint Site from the Site list and click on the Next button.
Step 5: Additionally, opt for the optional Features/Filters for selecting Options for List/Library:
- ContentType
- WorkFlows
- InfoPath Forms
- Columns
- Views
- WebParts
- Designer Object
- Contents
Step 6: Some other advanced Filters that the software offers are:
- Date Filter
- File Filter
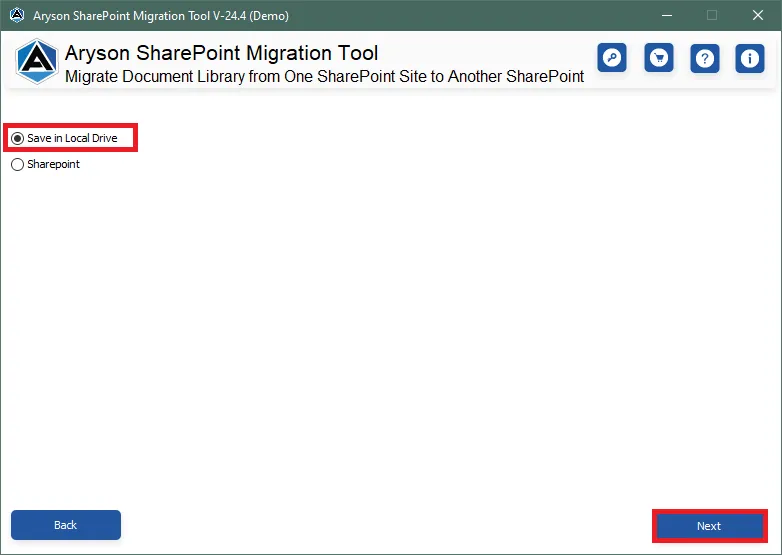
Step 7: To Save the SharePoint Data on your Local Drive select the option Save in Local Drive. Then click on the Next button to proceed further.
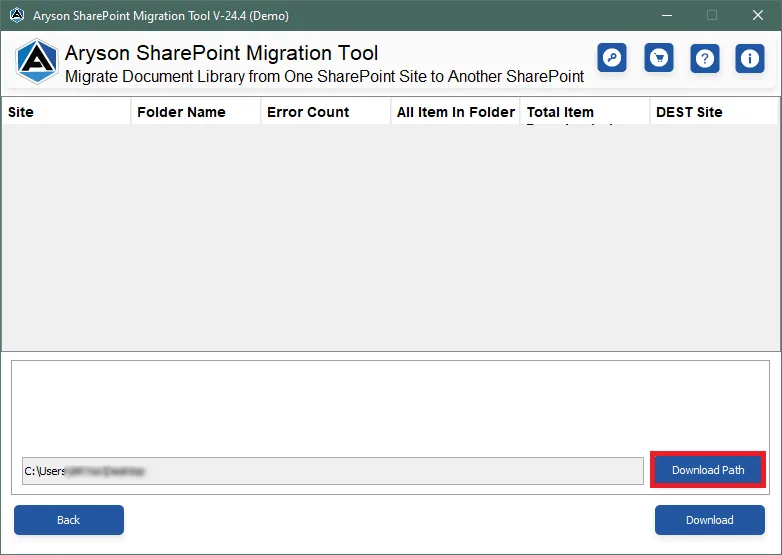
Step 8: Additionally, choose the Destination Path by clicking on the option Download Path.
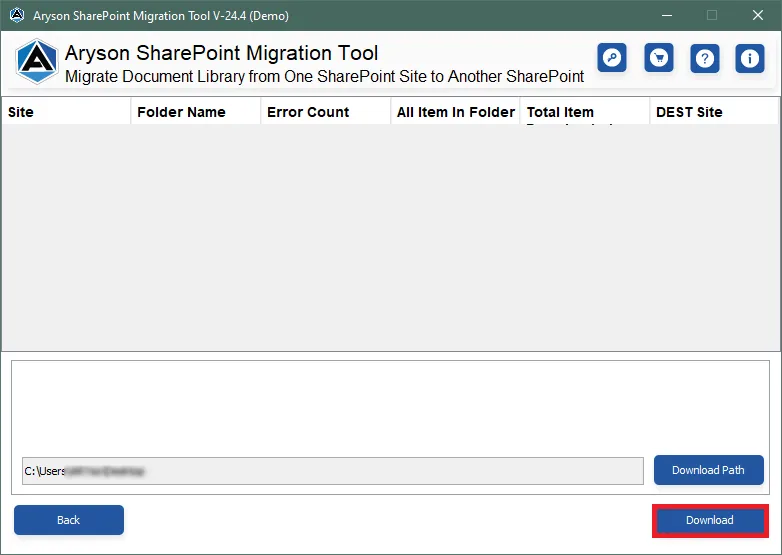
Step 9: Finally, click on the Download button to back up SharePoint data to the local system.
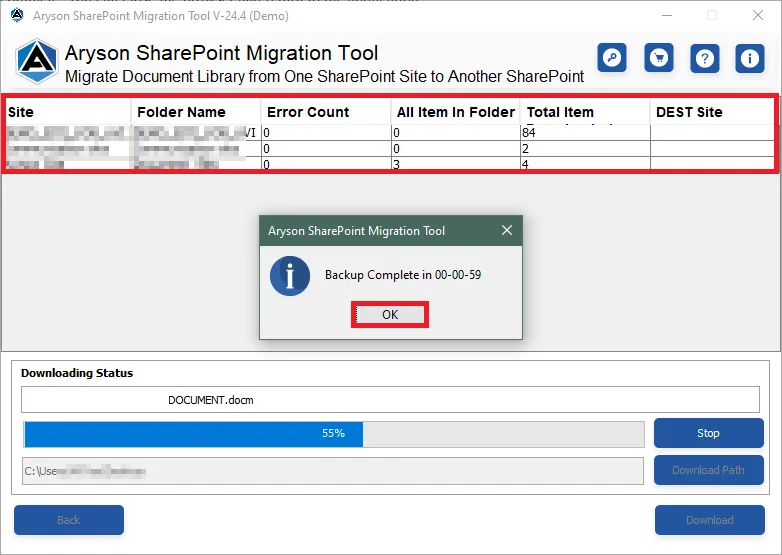
Step 10: After successful backup of SharePoint data click on the OK button. Additionally, view the Detailed Report.
Activation Guide
Activate the Software
Installation & Uninstallation
Installation & Uninstallation of Software
User Interface
User Interface
After downloading the Aryson SharePoint Migration Tool, you will find the welcome screen as played below.