A Complete Working Guide of Software to Backup or MIgrate Google Emails, Contacts, Calendars, Drive and Photos
-
Table of Content
- Software Working Process
- Activation Guide
- Installation & Uninstallation
- User Interface
Software Working Process
Following are the simple steps to Backup or Migrate Gmail Mailboxes into different File Formats & Email Clients:-
Step 1: First of all, Download, Install and Run Gmail Backup Tool on your computer.
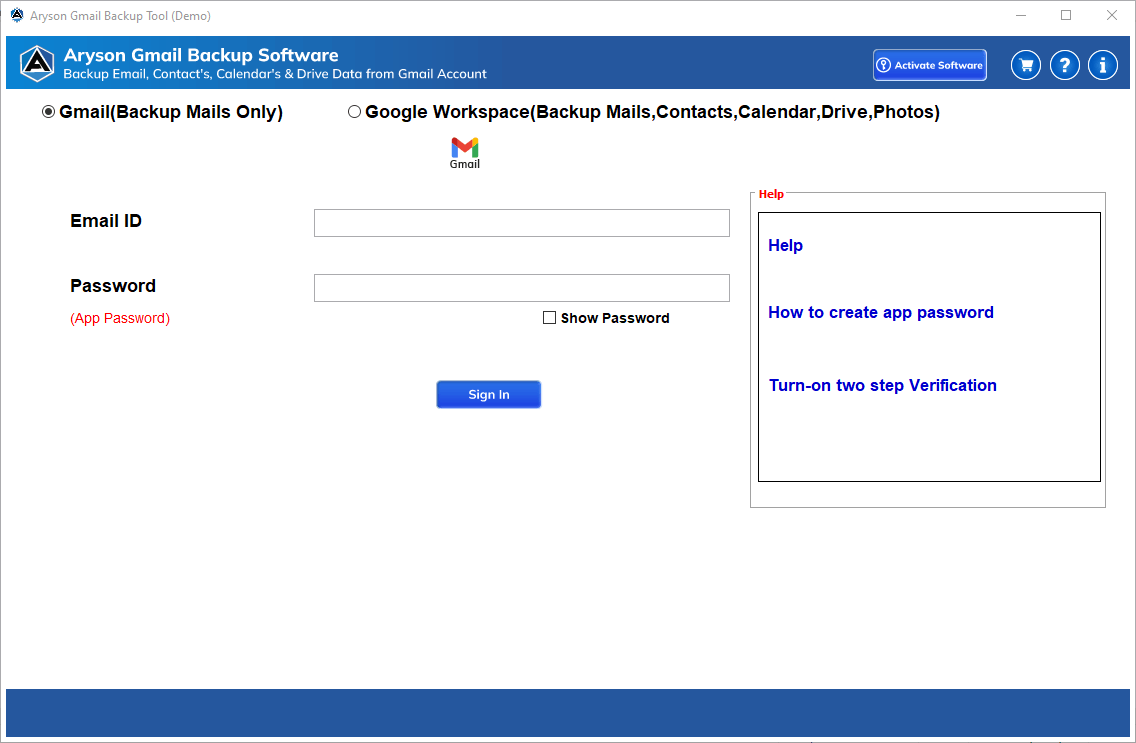
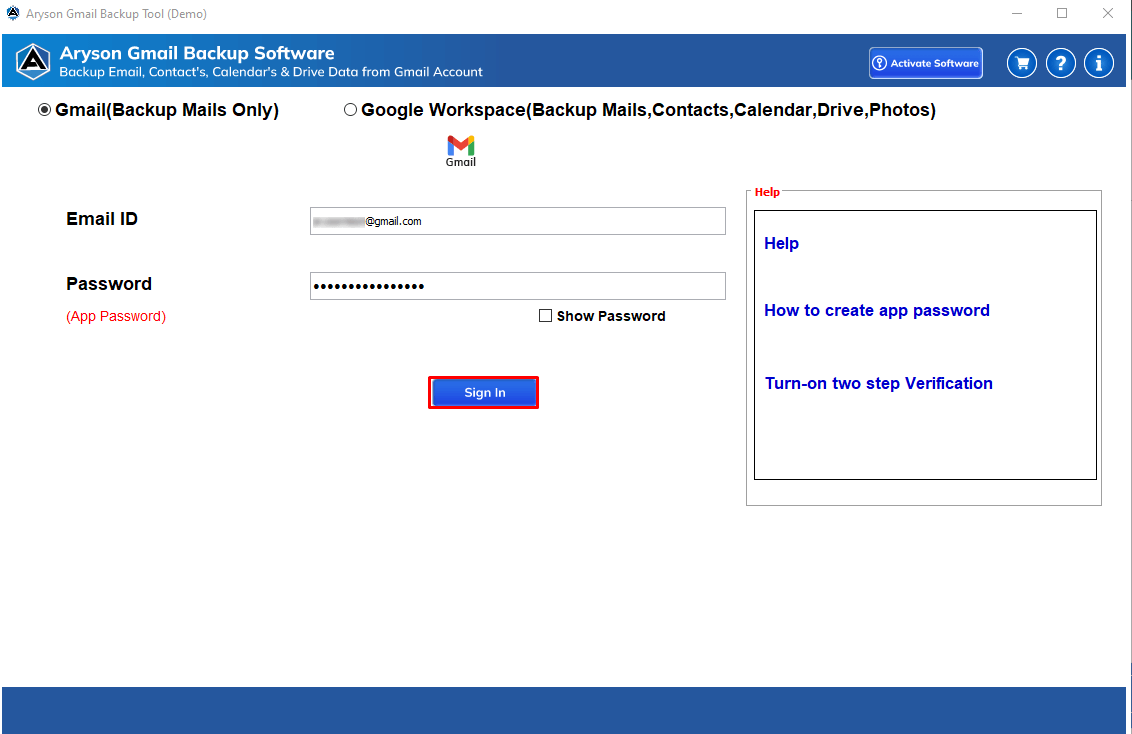
Step 2: Enter your Gmail email address and app password. Click the Sign In button.
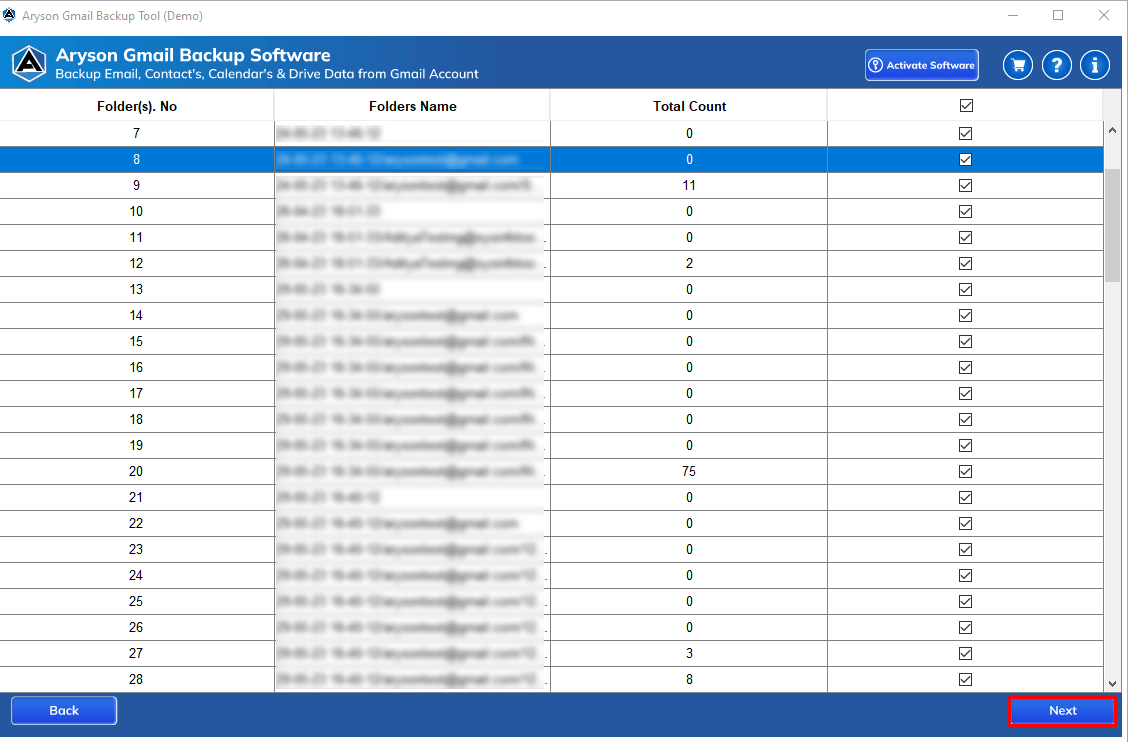
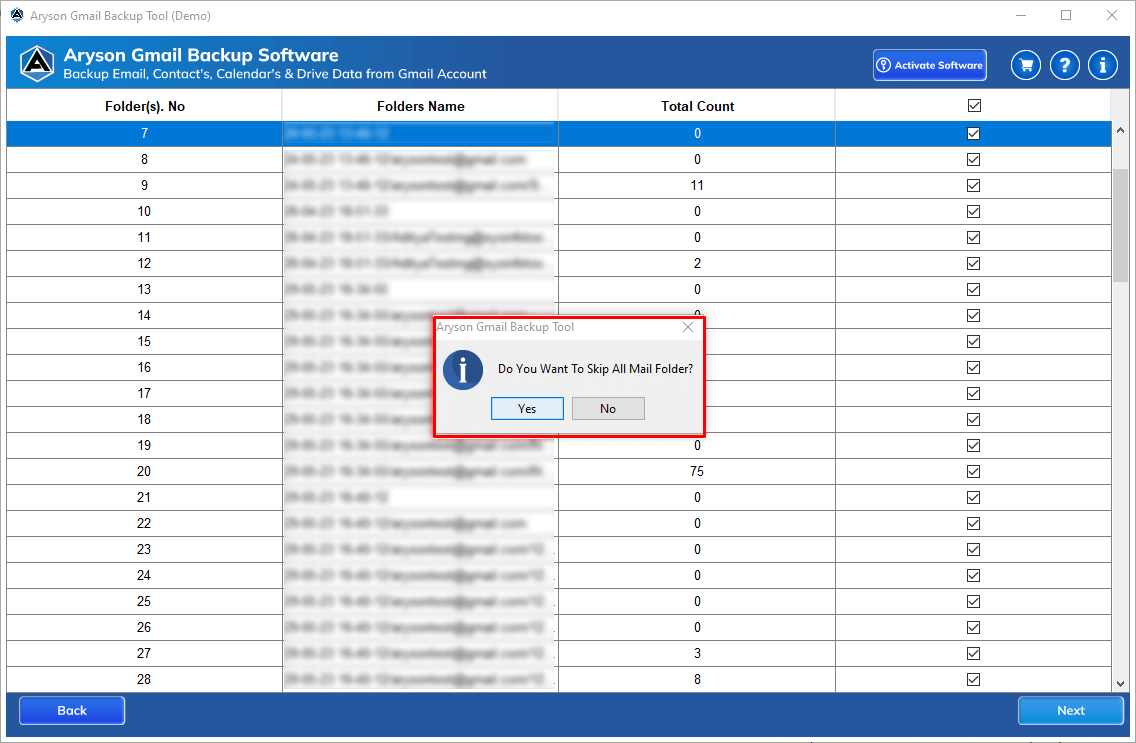
Step 3: Here, the software fetches all the mailboxes your Gmail account has. Select the folders you need to back up and click the Next button.
Step 4: Note:- You can skip the All Mail Folder during the backup process; click Next.
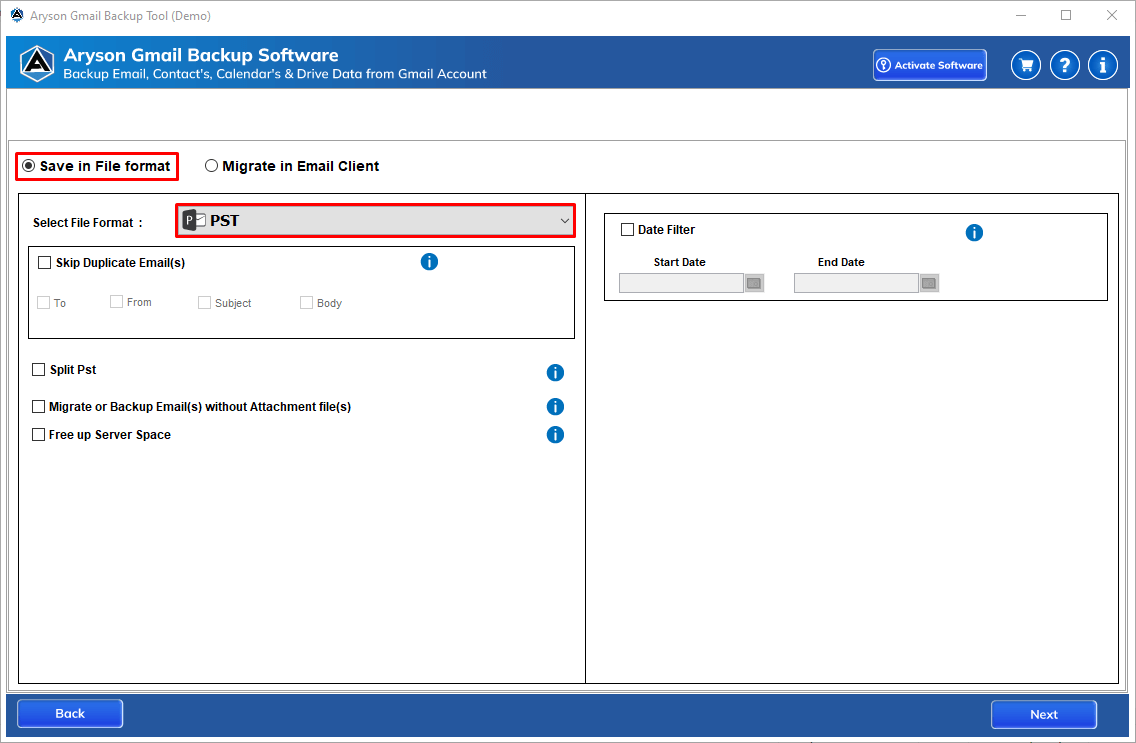
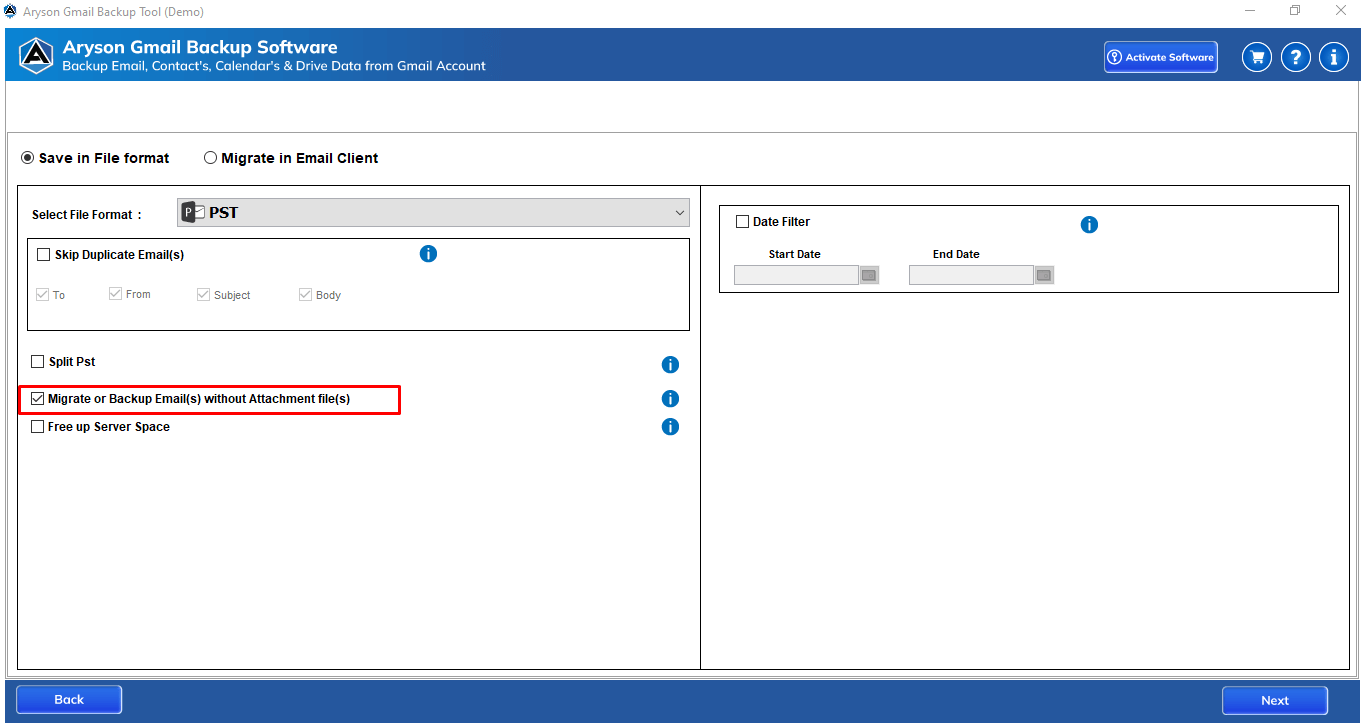
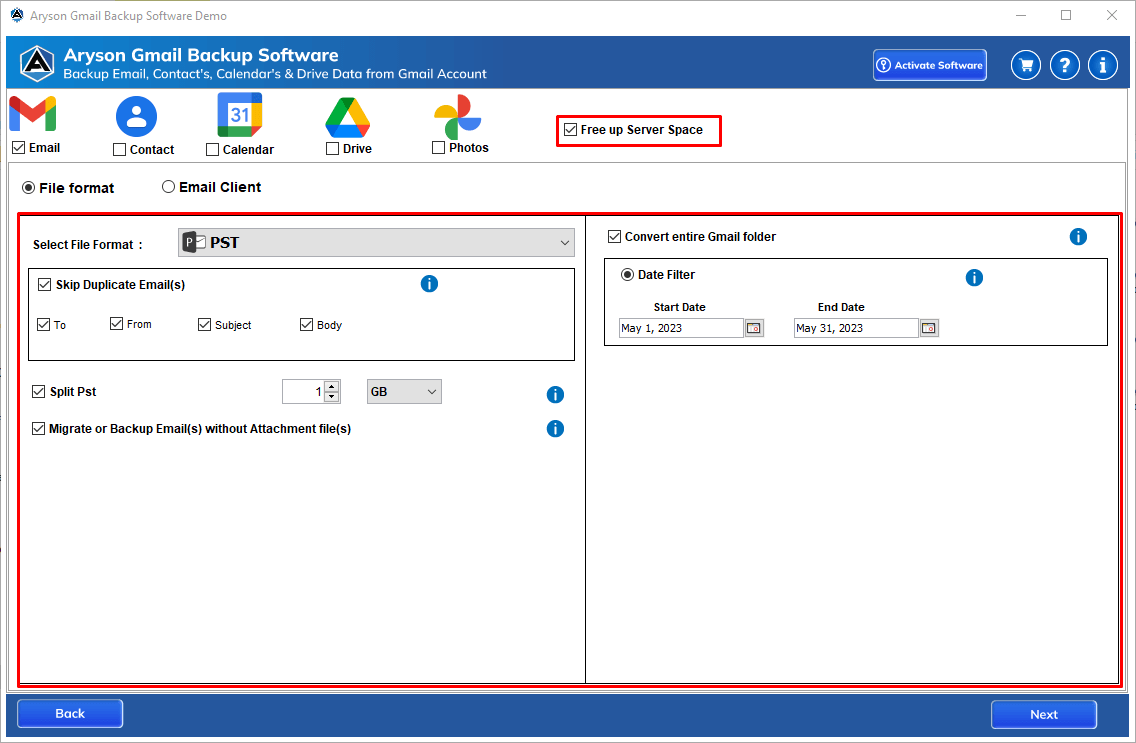
Step 5: Go with the Save in file format option and select PST from the drop-down list.
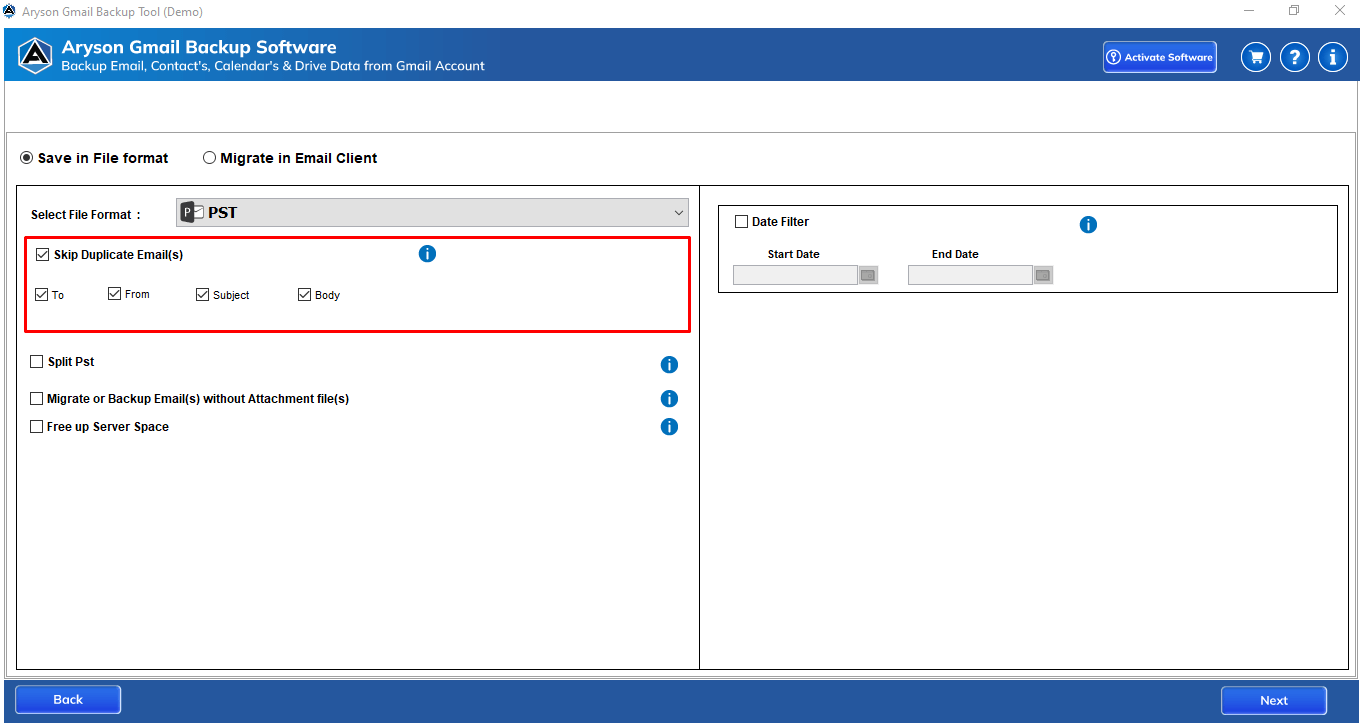
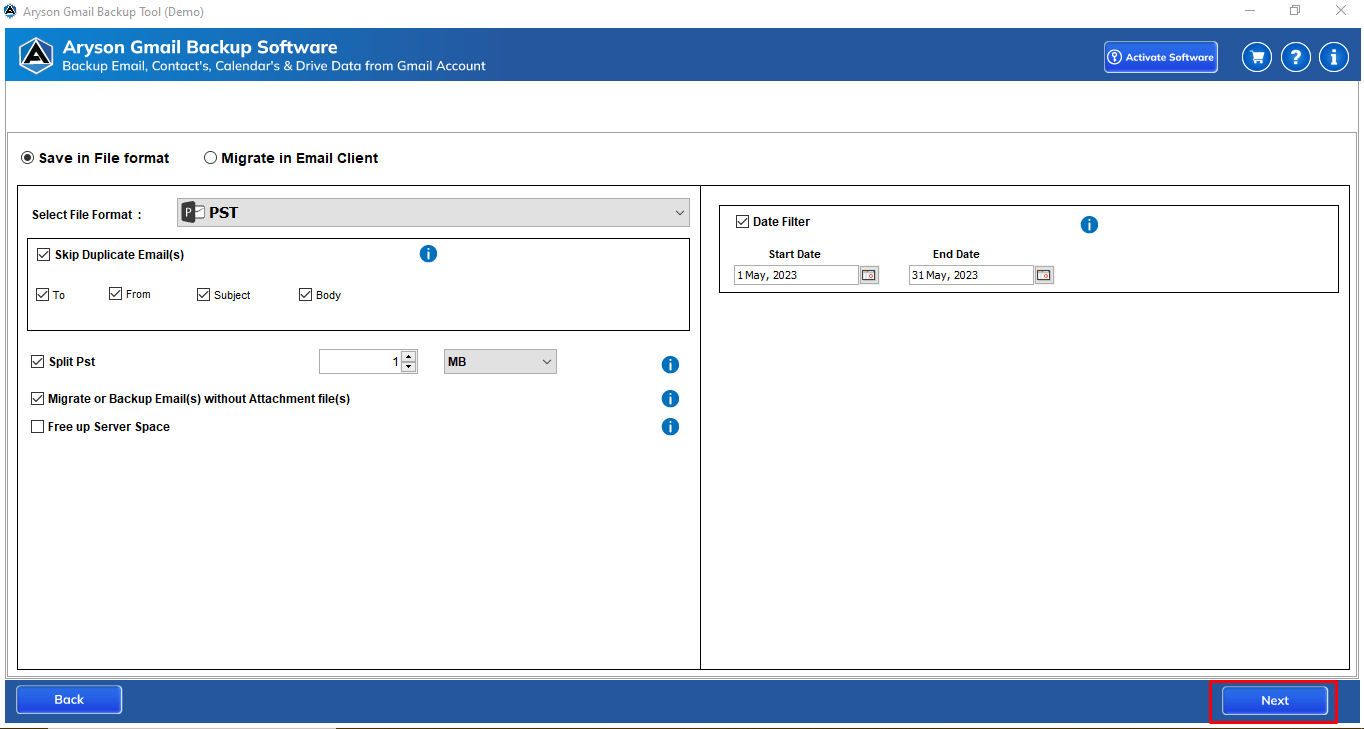
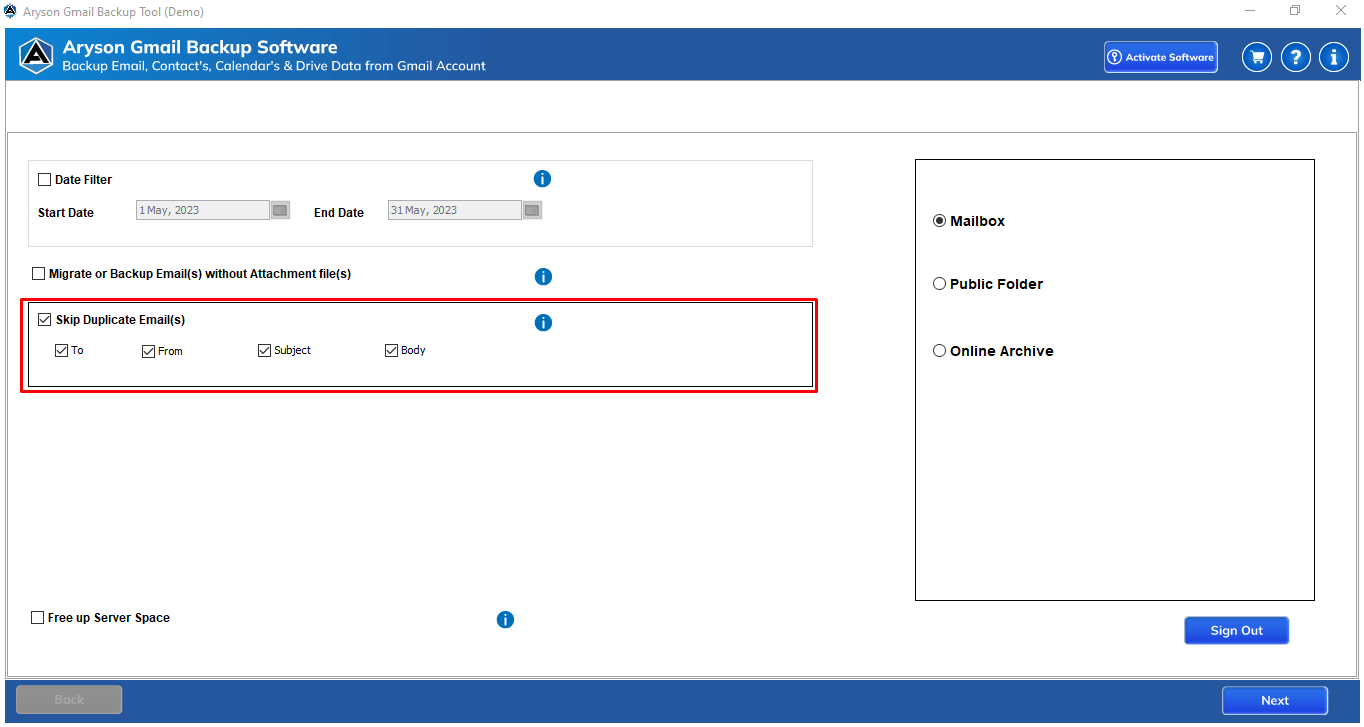
Step 6: You can Skip Duplicate Emails based on To, From, Subject and Body.
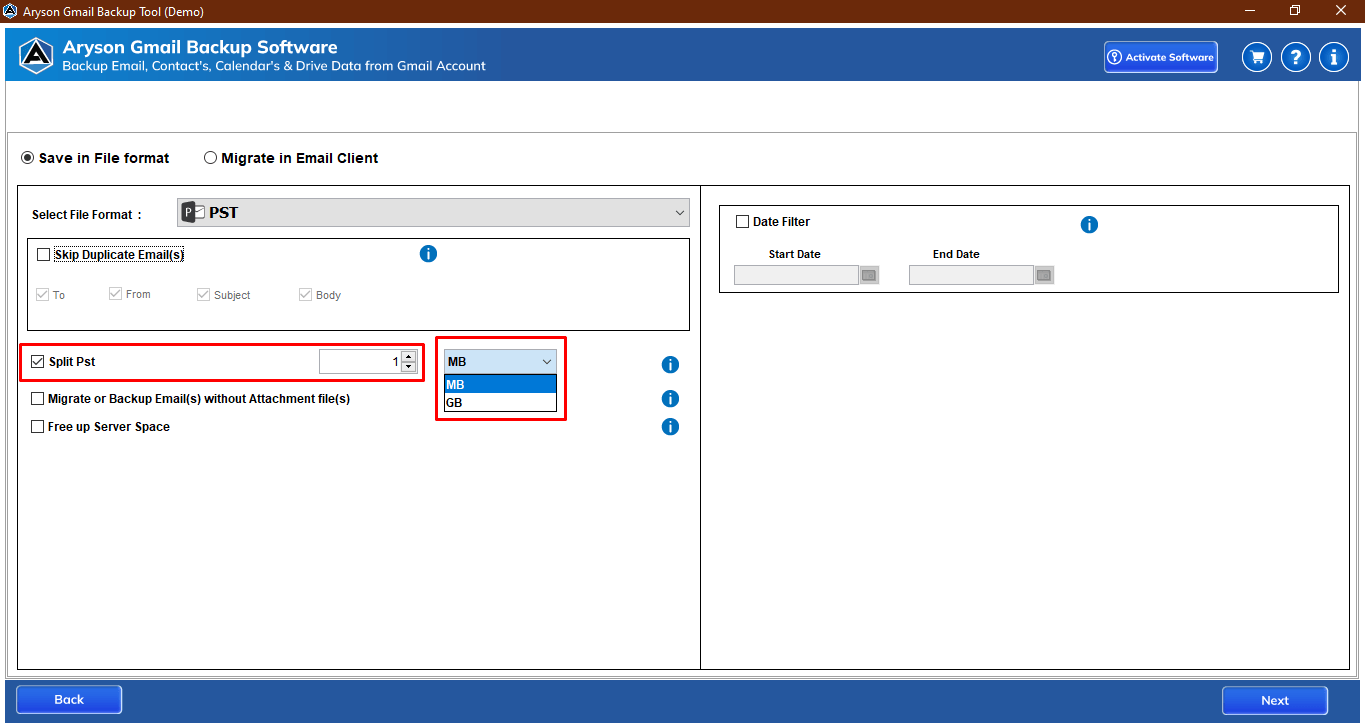
Step 7: The Split PST File option allows you to break the resultant PST file based on size(MB or GB).
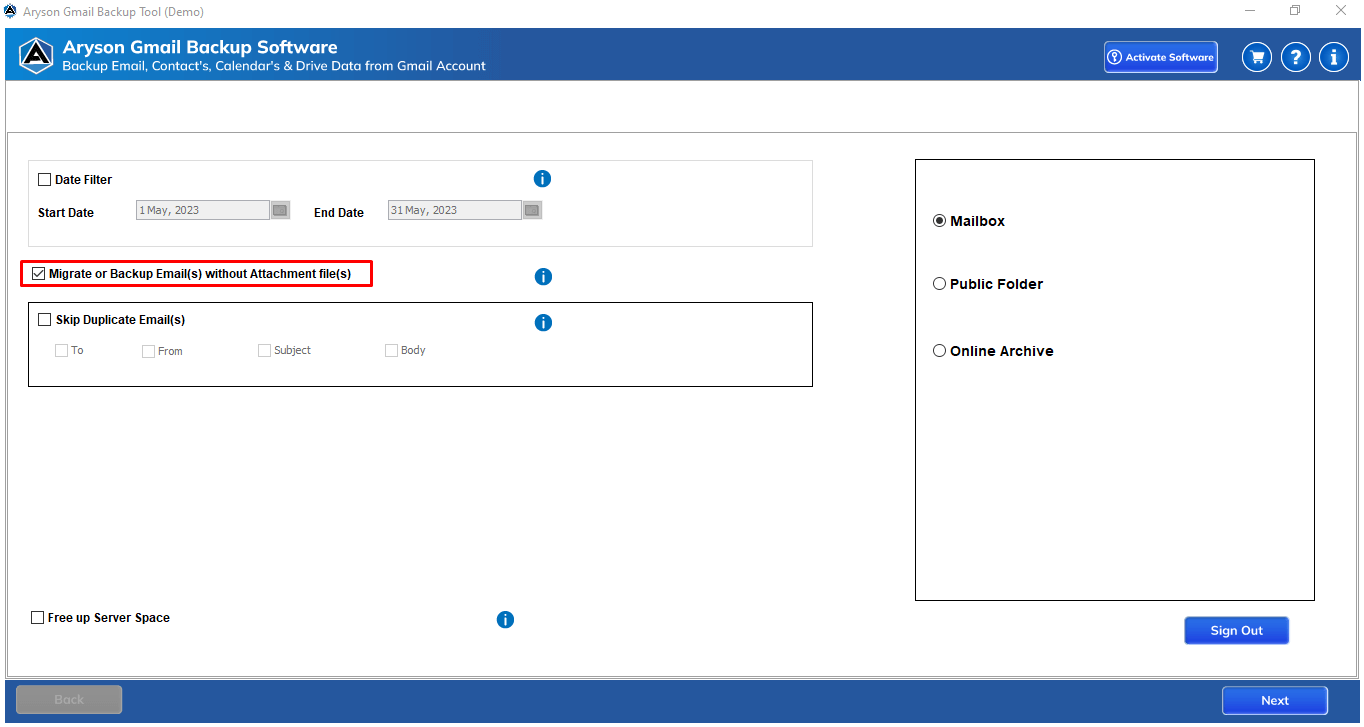
Step 8: Here, you have a feature to migrate or backup emails without attachments files.
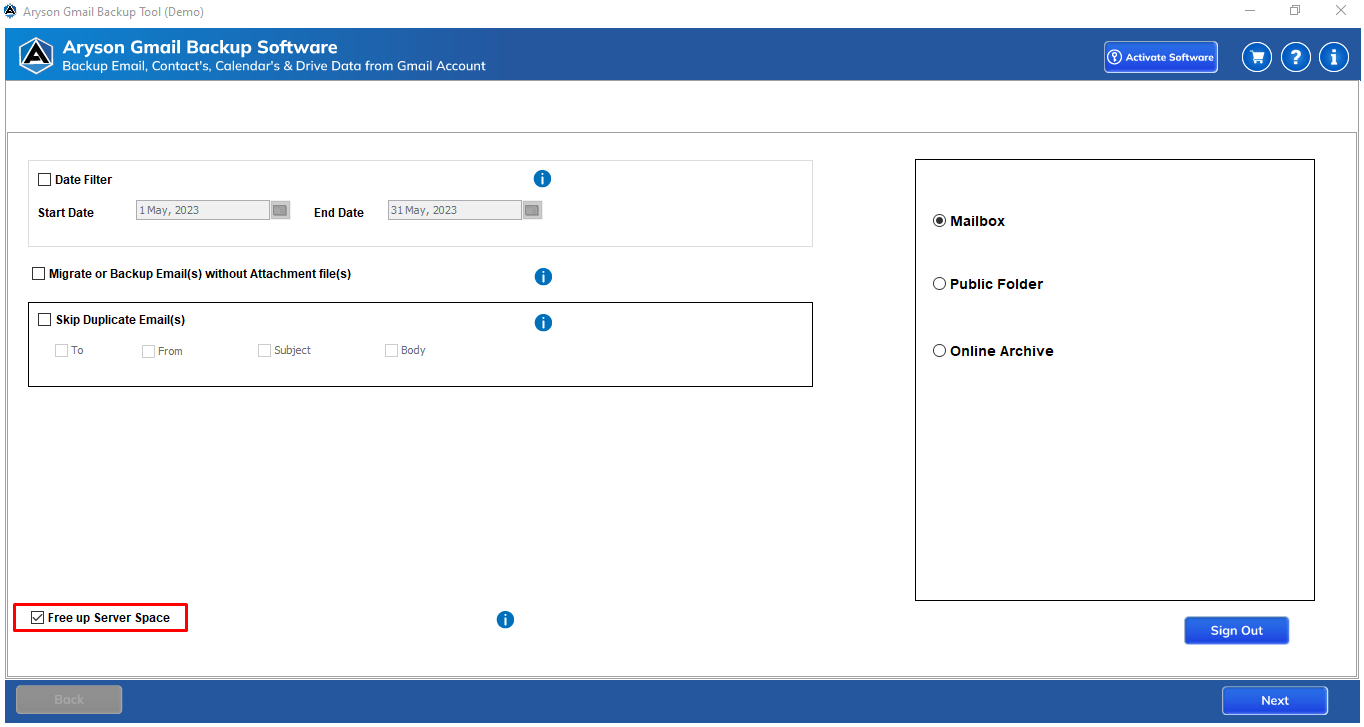
Step 9: The software also allows you to free up Gmail server space during the backup.
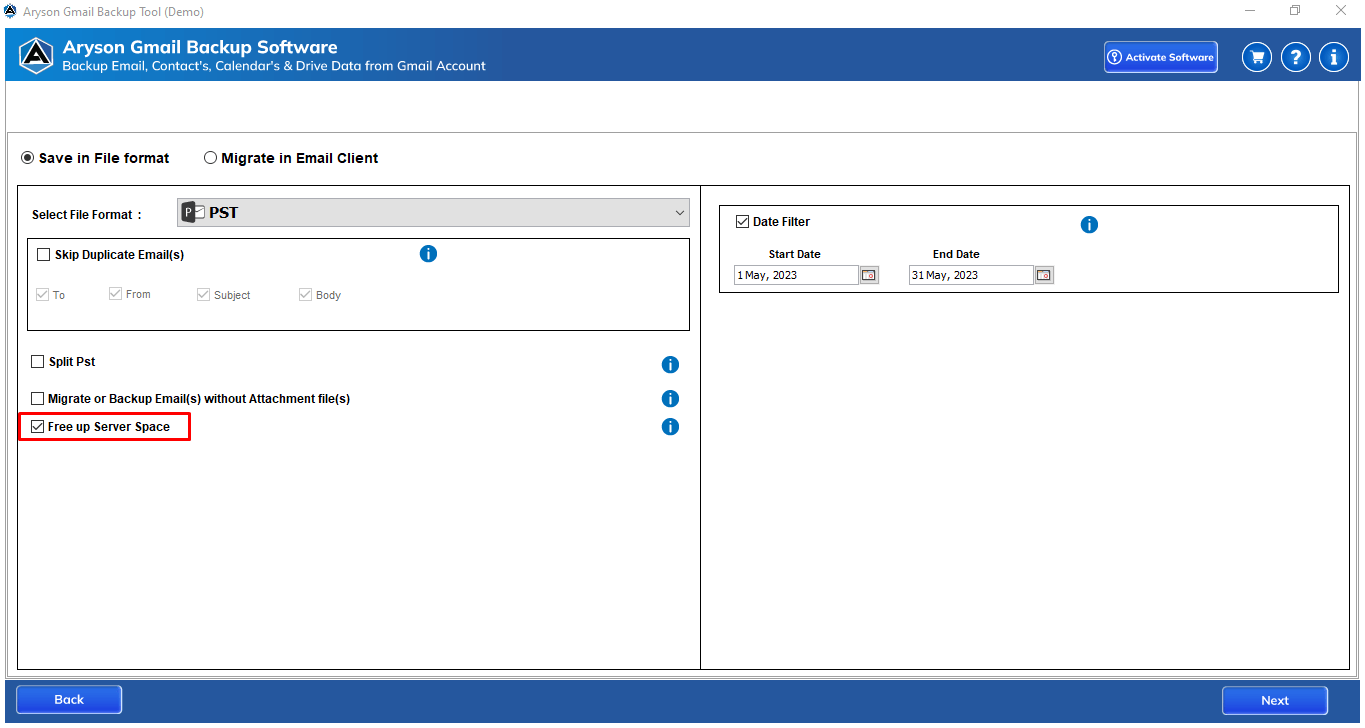
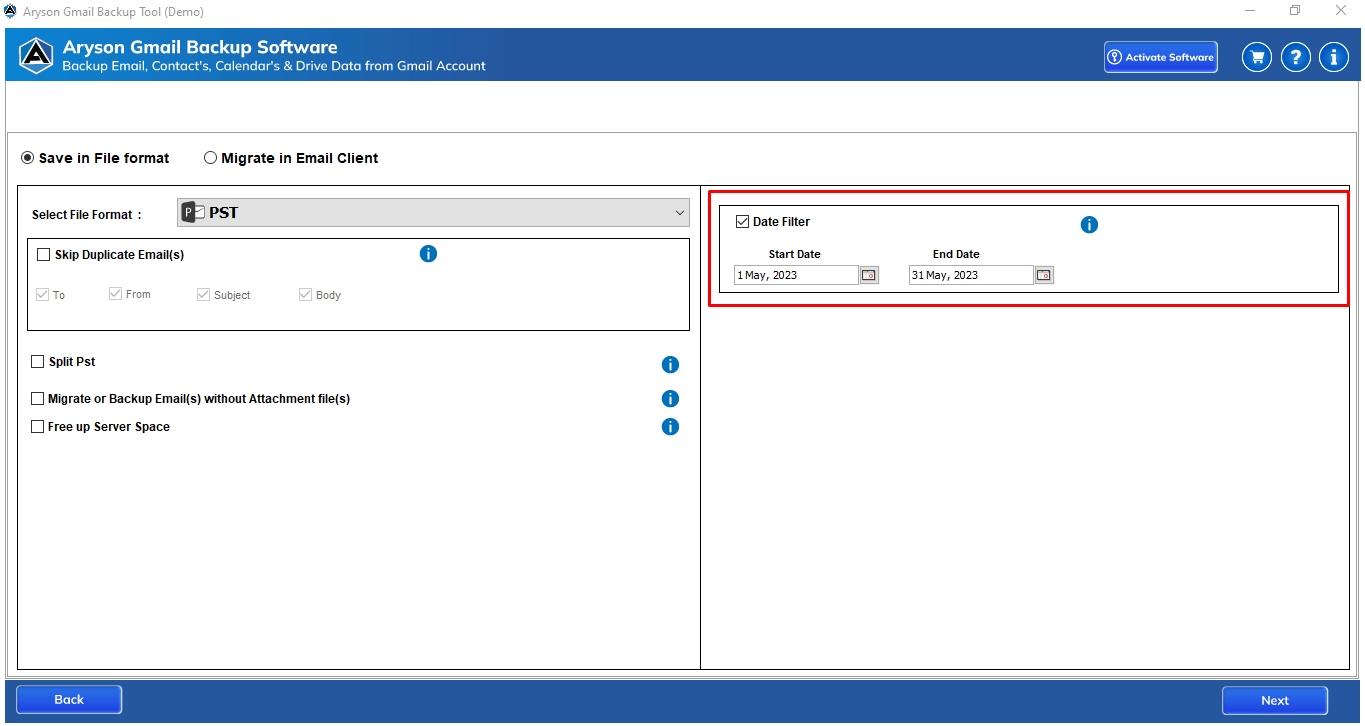
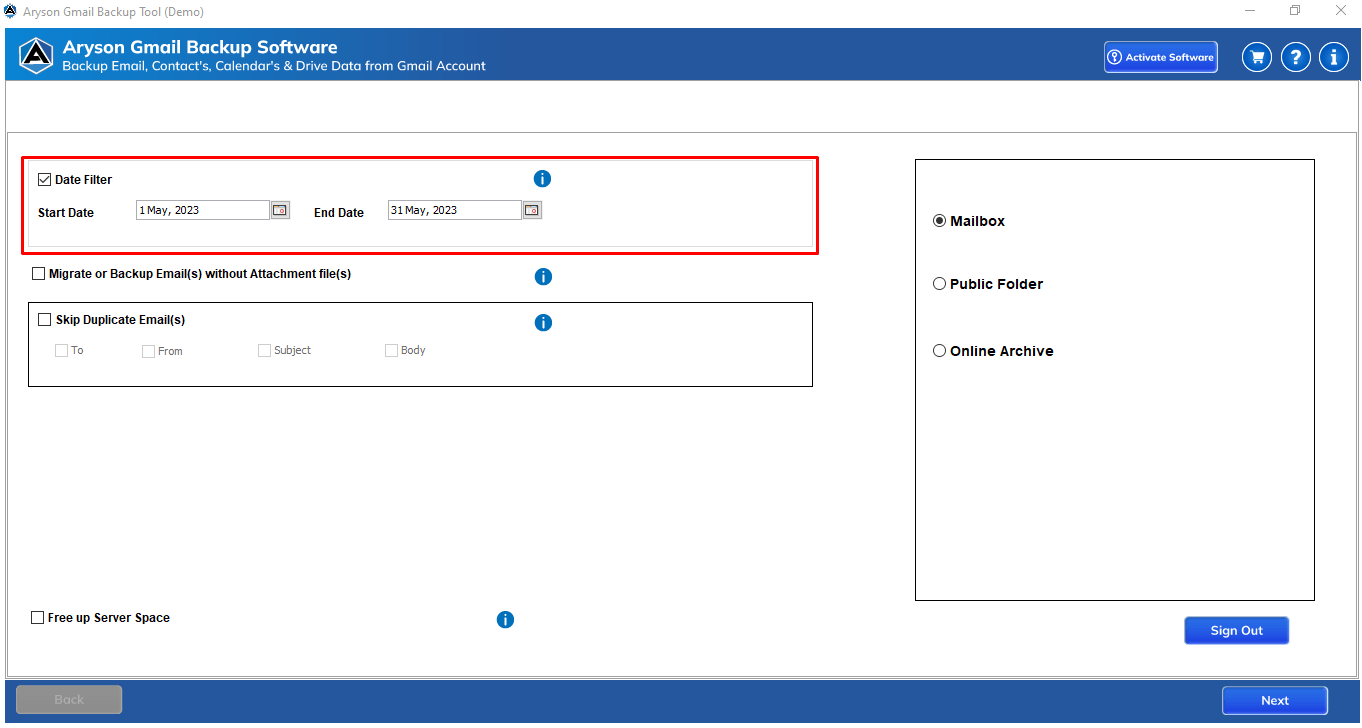
Step 10: Date Filter will let you perform the selective backup of Gmail mailbox data.
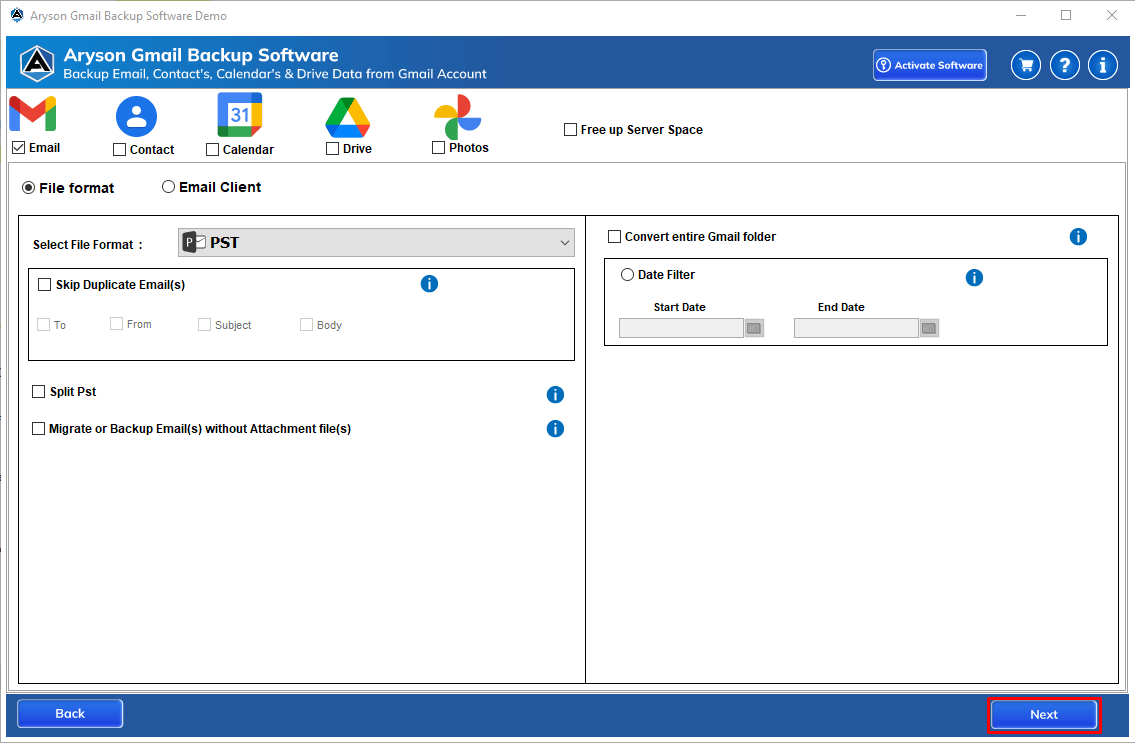
Step 11: Click the Next button.
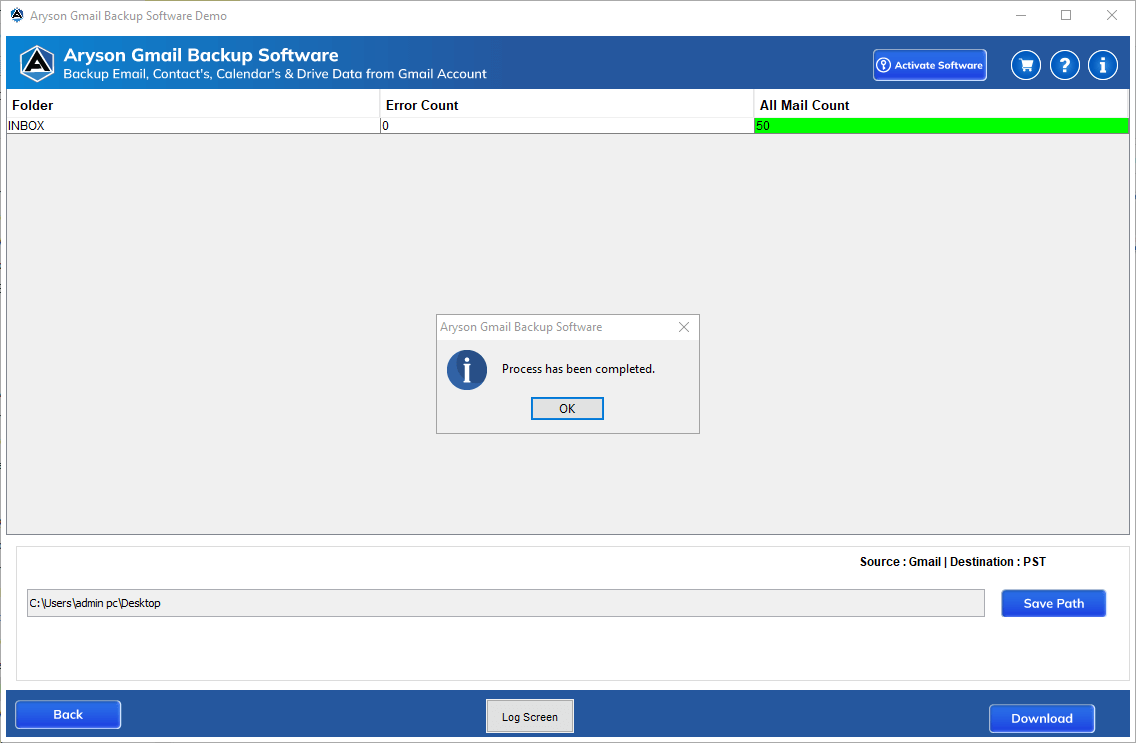
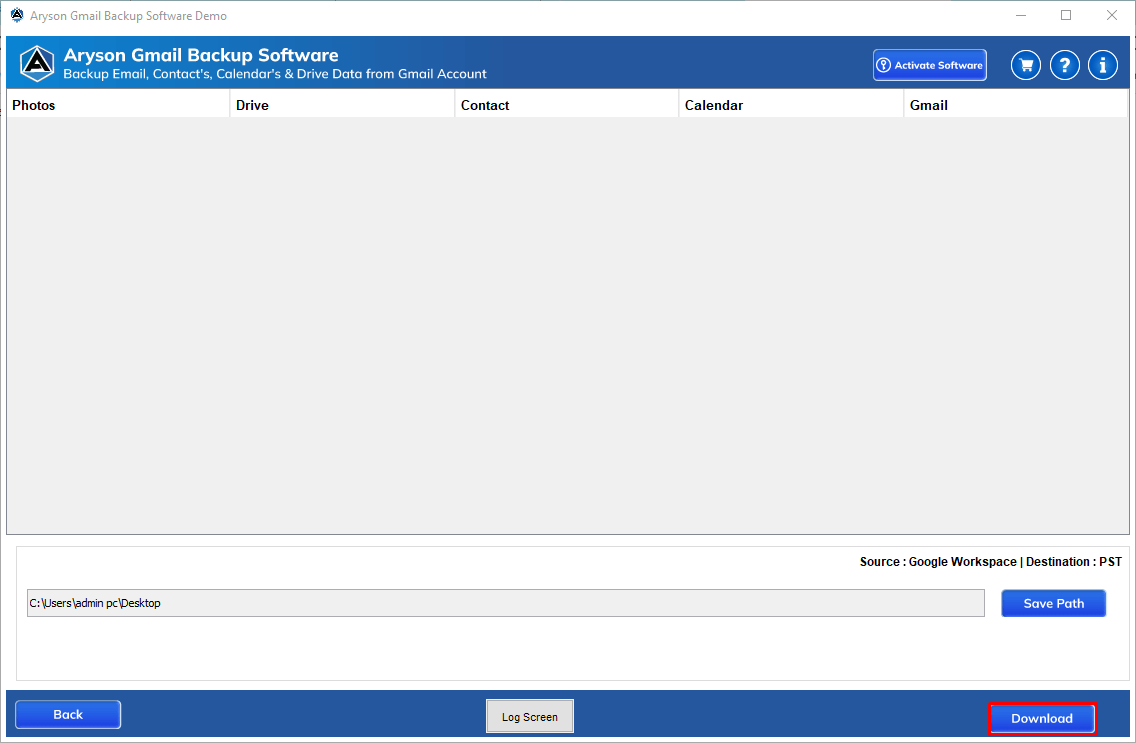
Step 12: The Save Path button helps you to set a saving location for the output folder.

Step 13: Click the Download button to download Gmail mailbox emails locally in PST file format.
Step 1: First of all, Download, Install and Run Gmail Backup Tool on your computer.
Step 2: Enter your Gmail email address and app password. Click the Sign In button.
Step 3: Here, the software fetches all the mailboxes your Gmail account has. Select the folders you need to back up and click the Next button.
Step 4: Note:- You can skip the All Mail Folder during the backup process; click Next.
Step 5: Choose the saving option as Migrate in Email Client and select Office 365.
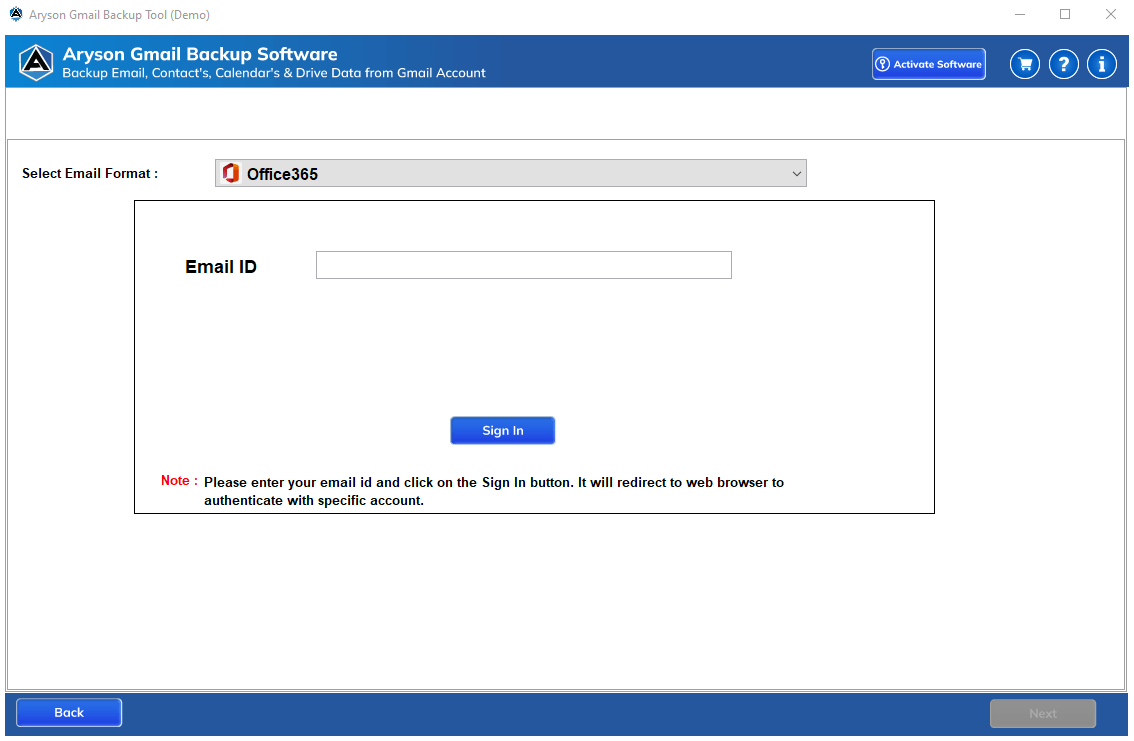
Step 6: Enter your Office 365 email address and click on the Sign In button.
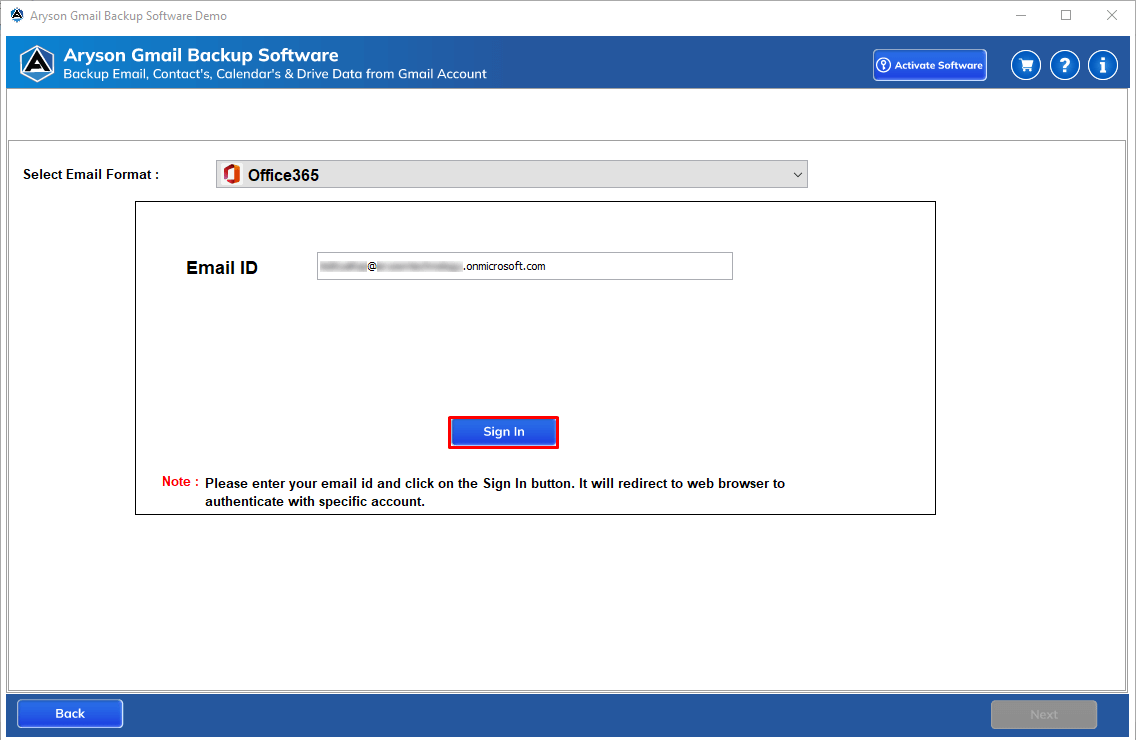
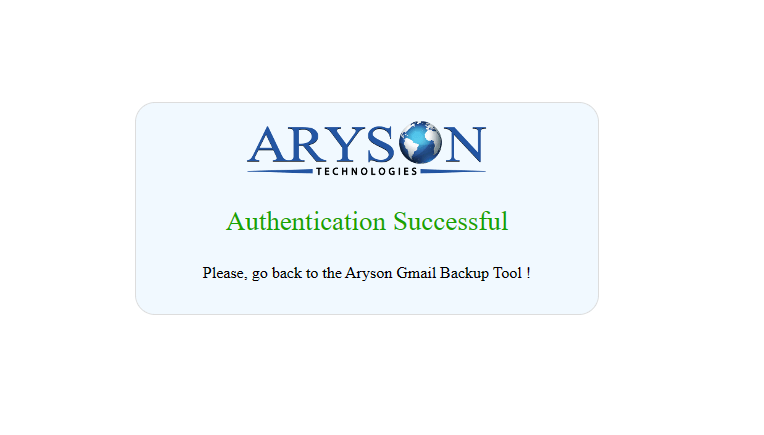
Step 7: Here, you will be redirected to the Web browser where you need to complete the login process.
Step 8: Date Range feature for performing the selective data migration from Gmail mailboxes to Office 365.
Step 9: It also allows you to remove the attachments files from the email messages.
Step 10: Here, you can also remove the duplicate emails from the selected folders.
Step 11: Free Up Server Space to delete the Mailbox data after migration.
Step 12: Choose Mailbox/Public Folder or Online Archive Option according to your requirements.
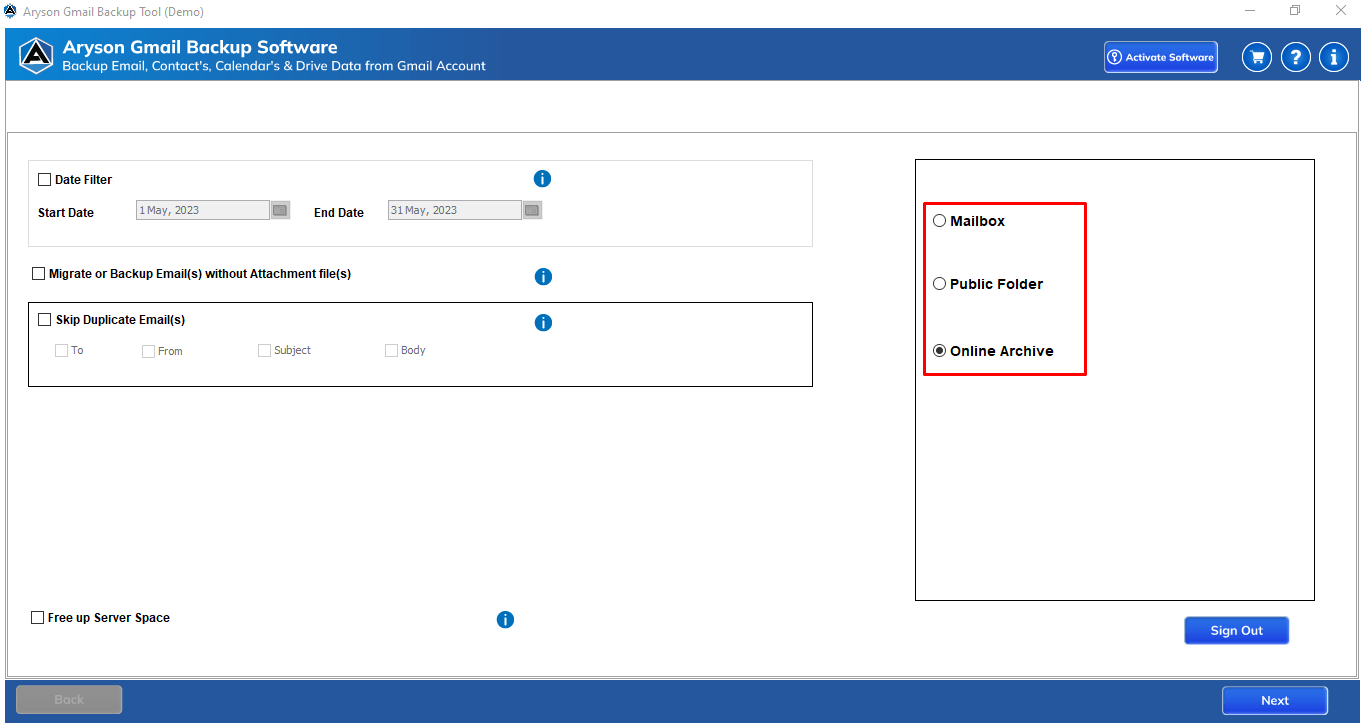
Step 13: Click on the Next button.

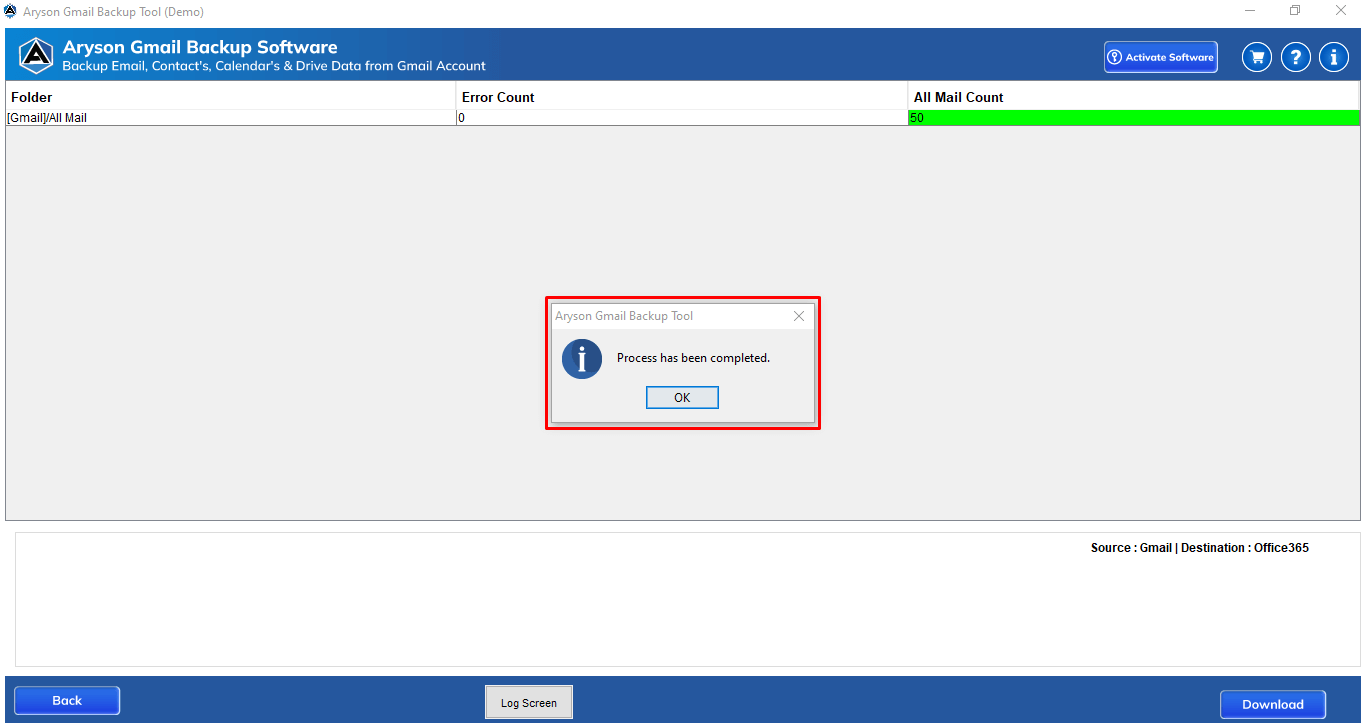
Step 14: In the next panel, click the Download button to start Gmail to Office 365 migration.
Following are the simple steps that allow you to download all the items from your Gmail account, like Mails, Contacts, Calendars, Drives and Photos:-
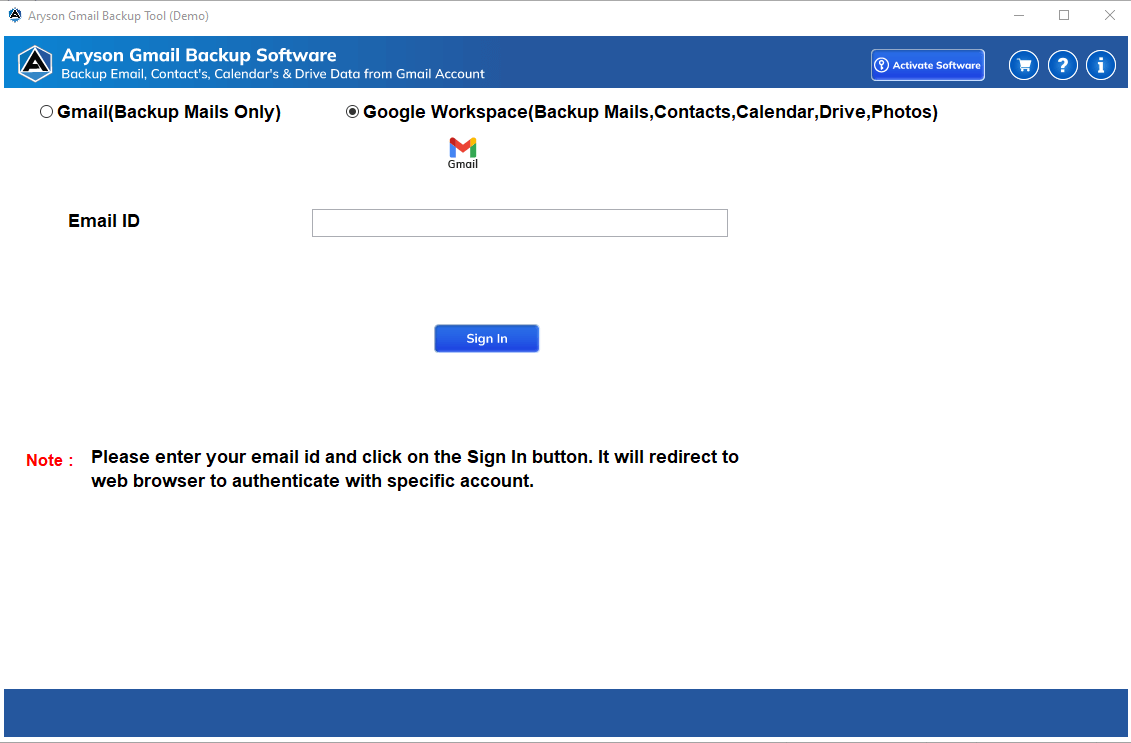
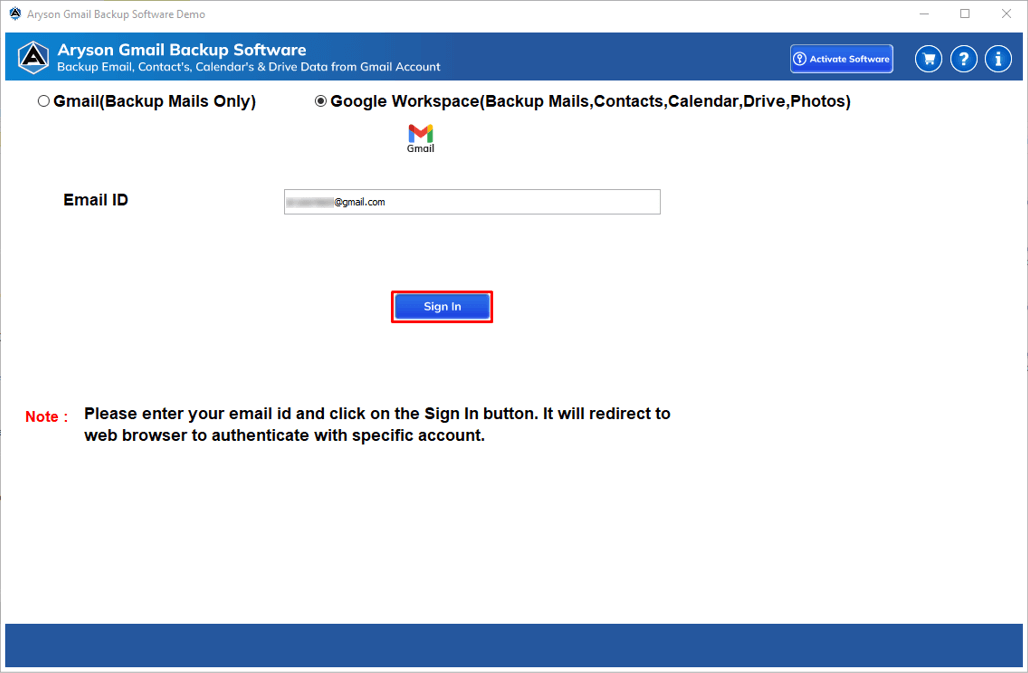
Step 1: First, Download, Install and Launch the Gmail Backup Tool as an administrator.

Step 2: Enter your Gmail email address and click on the Sign in button.
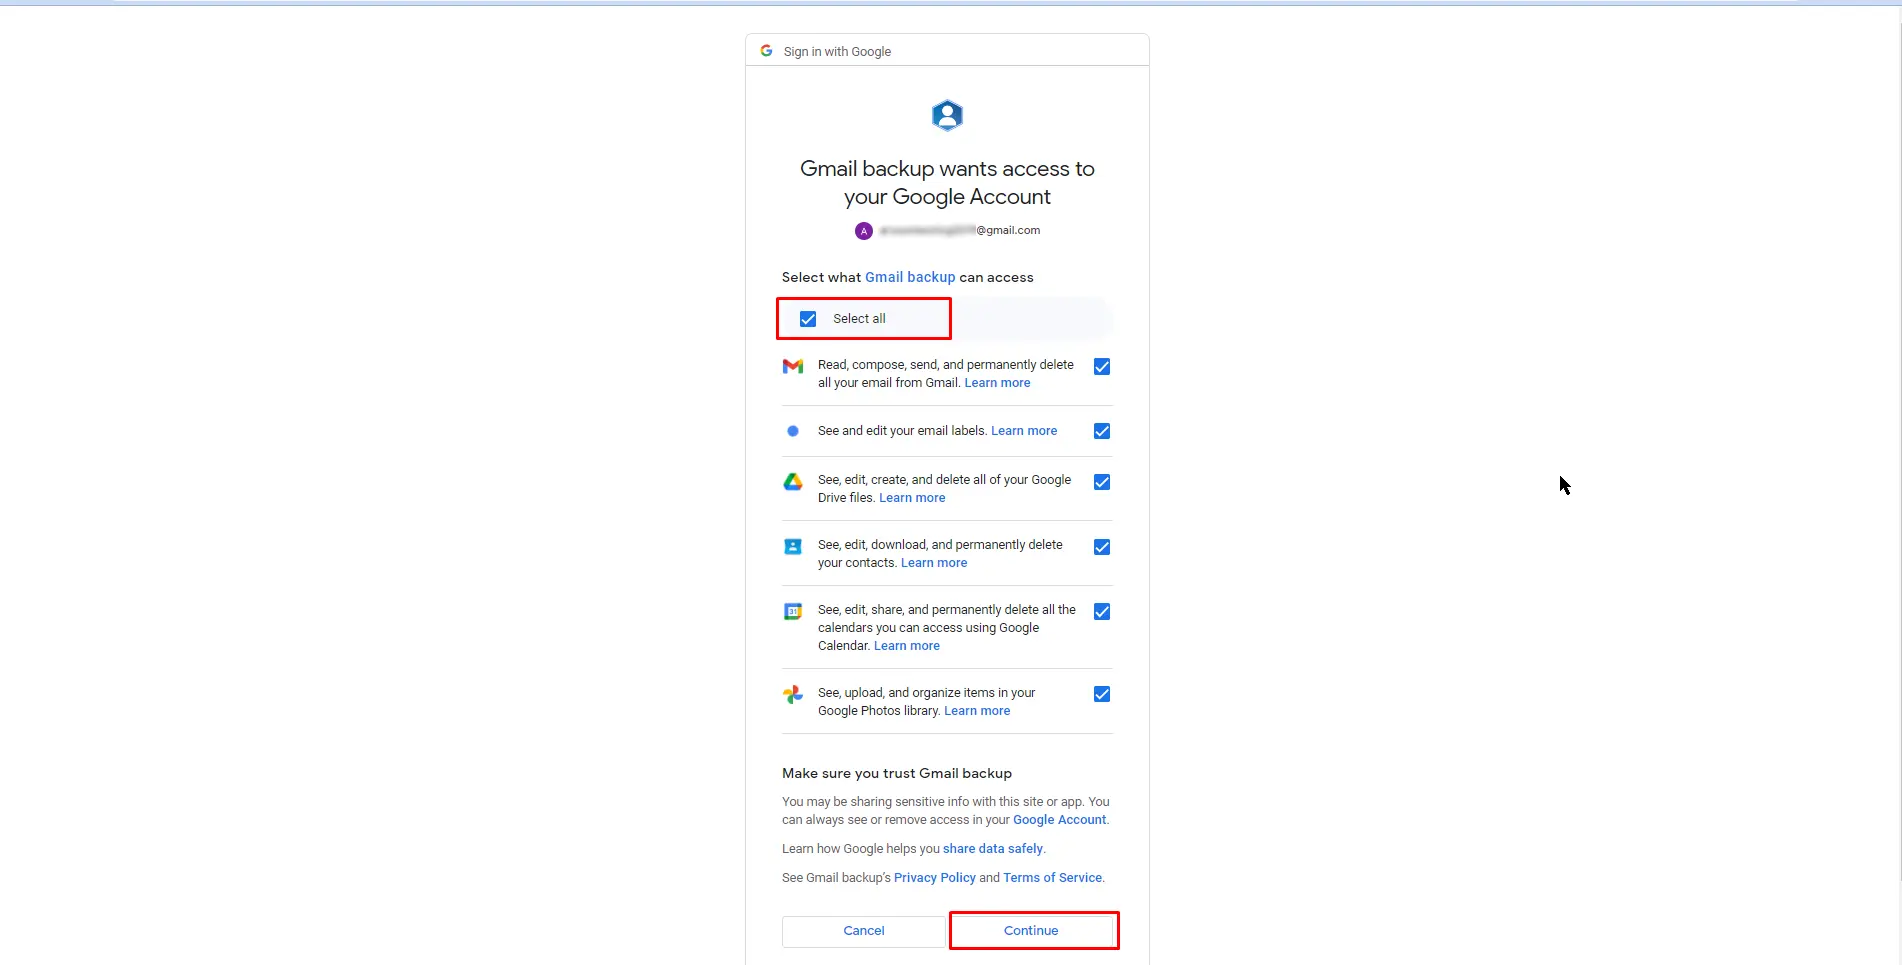
Step 3: You need to allow multiple access for the software (Mails, Contacts, Calendars, Drives and Photos) and click Continue.
Step 4: Go with the Email option and choose the file format/email client.

Step 5: Choose the built-in features you need, like Skip Duplicate Emails, Split PST File.
Step 6: Migrate or Backup Emails Without Attachments files, Convert Entire Gmail folder, Date Filter and others.
Step 7: Click the Next button to continue further.
Step 8: After that, click the Download button to start the backup process of Gmail email messages.
Step 1: First, Download, Install and Launch the Gmail Backup Tool as an administrator.
Step 2: Enter your Gmail email address and click on the Sign in button.
Step 3: You need to allow multiple access for the software (Mails, Contacts, Calendars, Drives and Photos) and click Continue.
Step 4: Check the Contact option.
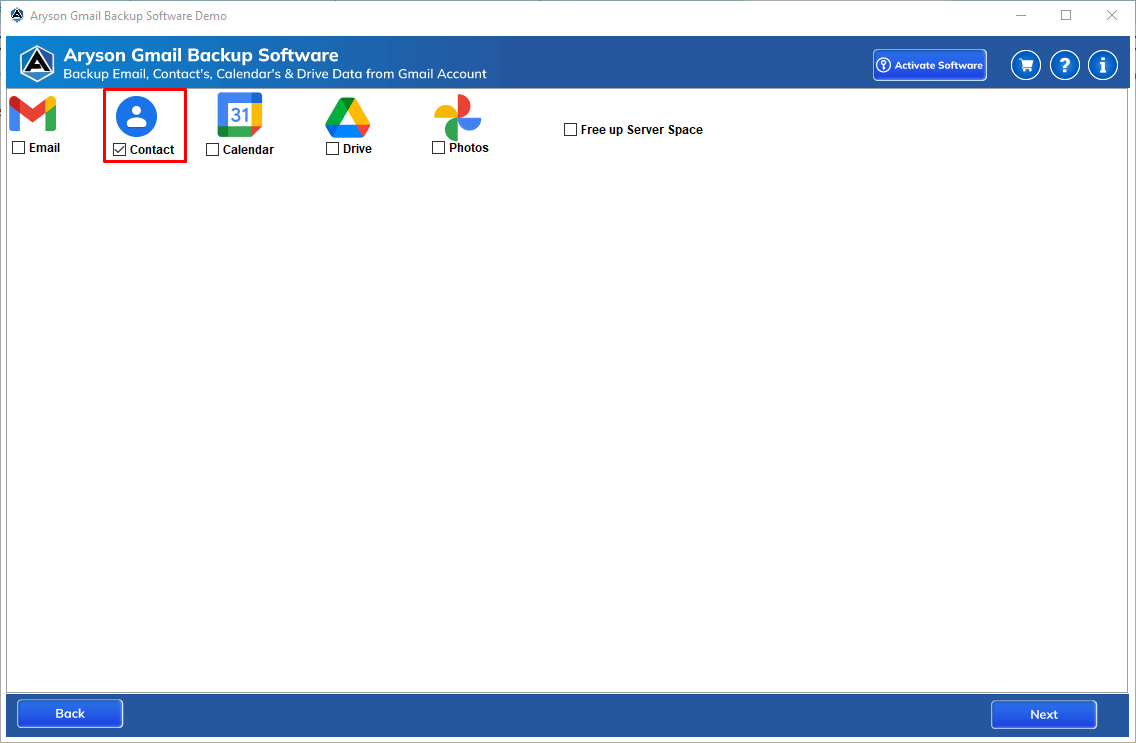
Step 5: You can free-up server space of your Gmail account and delete all the contacts. Click Next.

Step 6: Click the Save Path to choose the path for your contacts.
Step 7: Now, tap the Download button to save Google Contacts.
Step 1: First, Download, Install and Launch the Gmail Backup Tool as an administrator.
Step 2: Enter your Gmail email address and click on the Sign in button.
Step 3: You need to allow multiple access for the software (Mails, Contacts, Calendars, Drives and Photos) and click Continue.
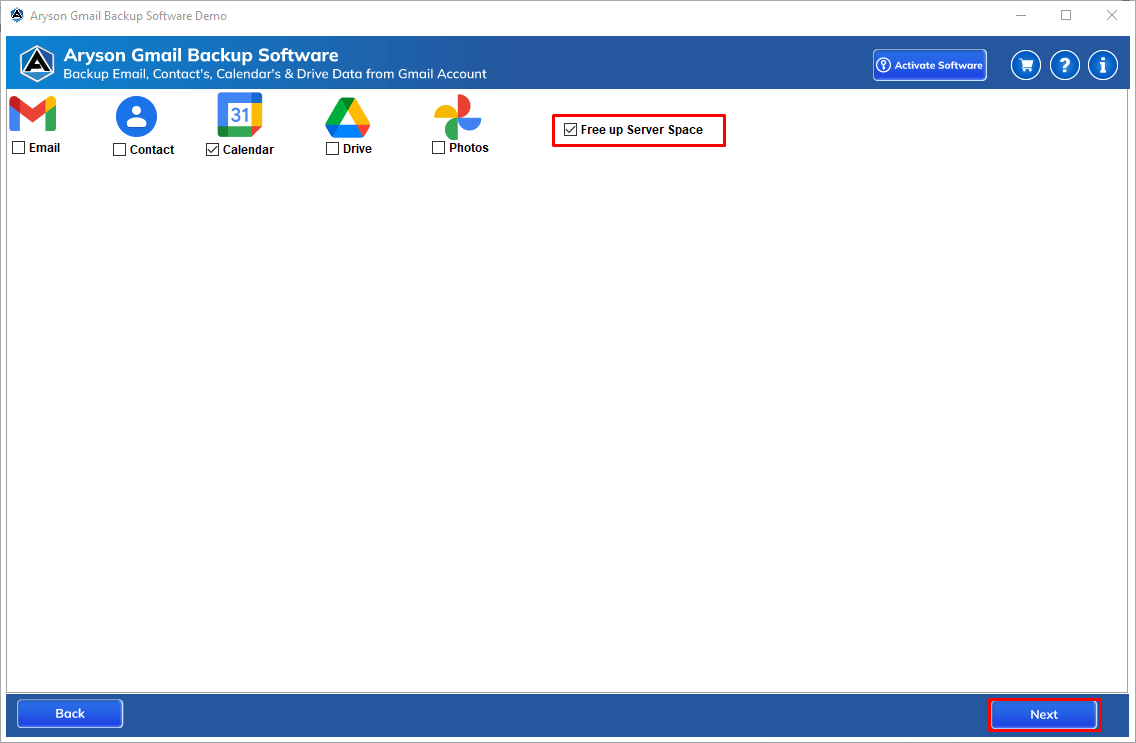
Step 4: Check the Calendar option.
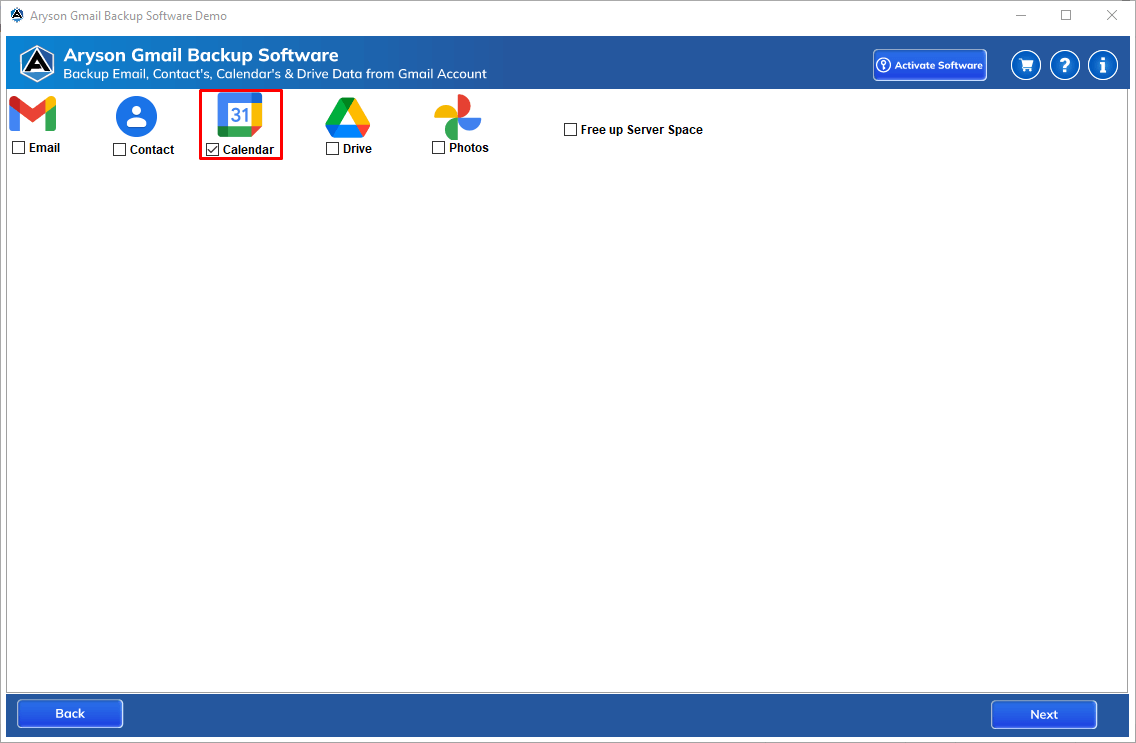
Step 5: You can free-up server space of your Gmail account and delete all the calendar. Click Next.
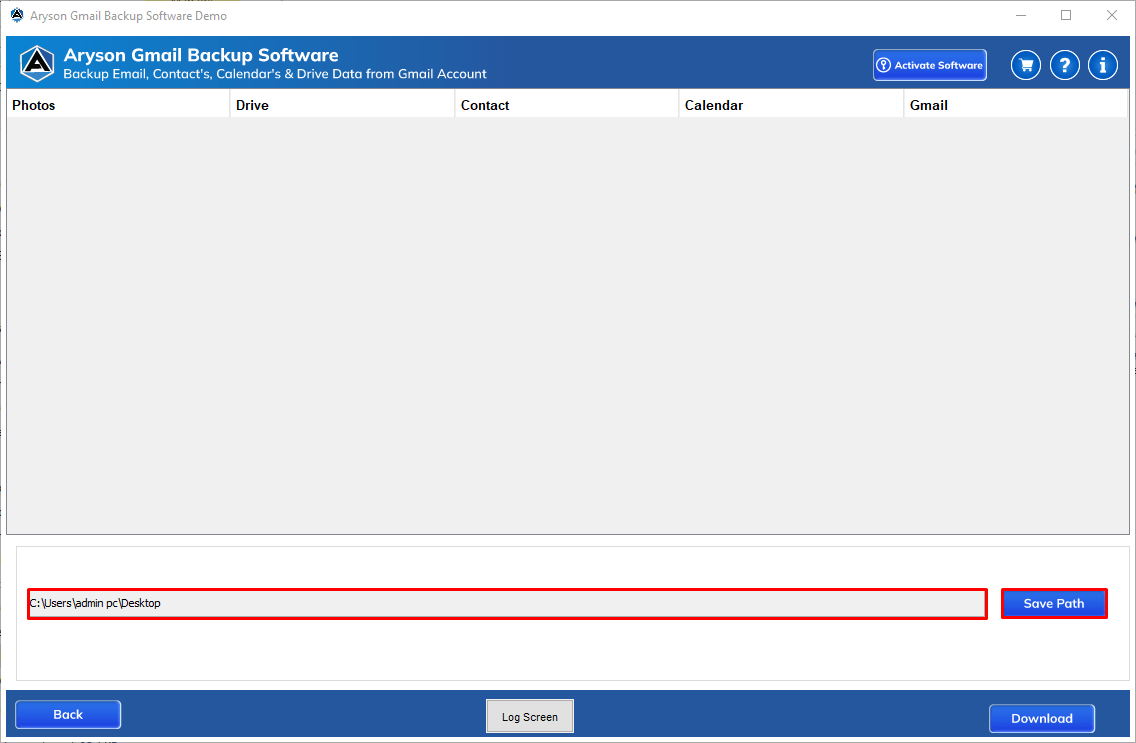
Step 6: Click the Save Path to choose the path for your calendar.
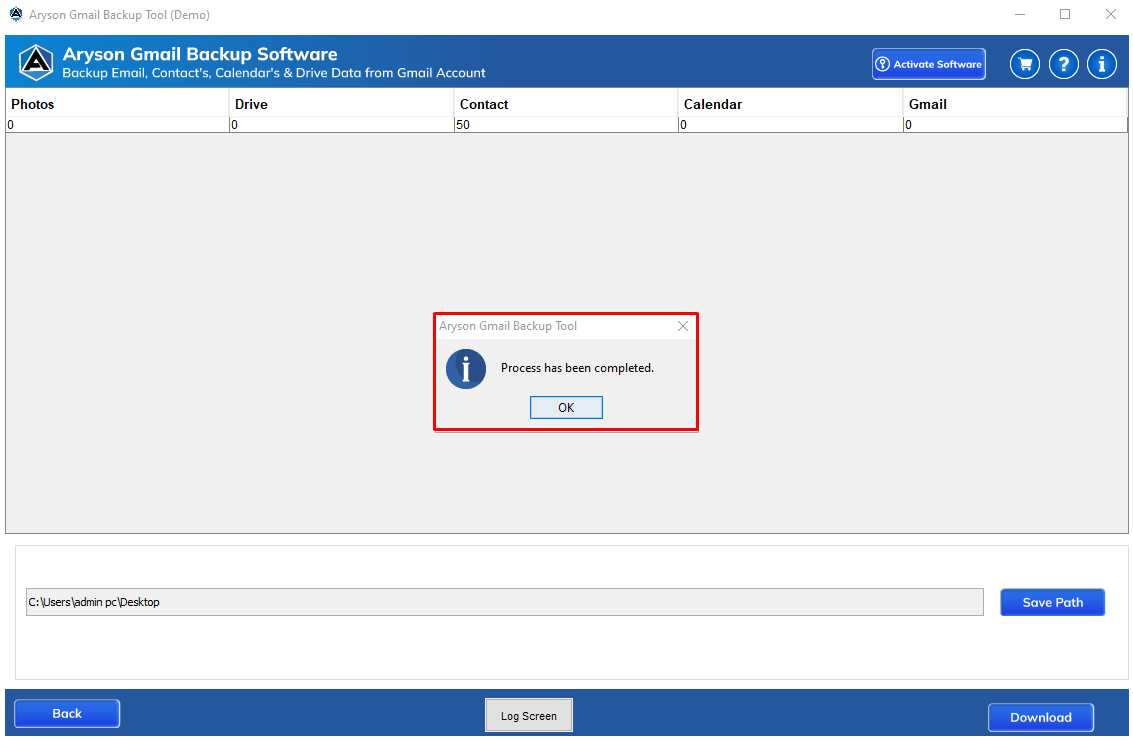
Step 7: Now, tap the Download button to save Google Calendar.

Step 1: First, Download, Install and Launch the Gmail Backup Tool as an administrator.
Step 2: Enter your Gmail email address and click on the Sign in button.
Step 3: You need to allow multiple access for the software (Mails, Contacts, Calendars, Drives and Photos) and click Continue.
Step 4: Check the Drive option.
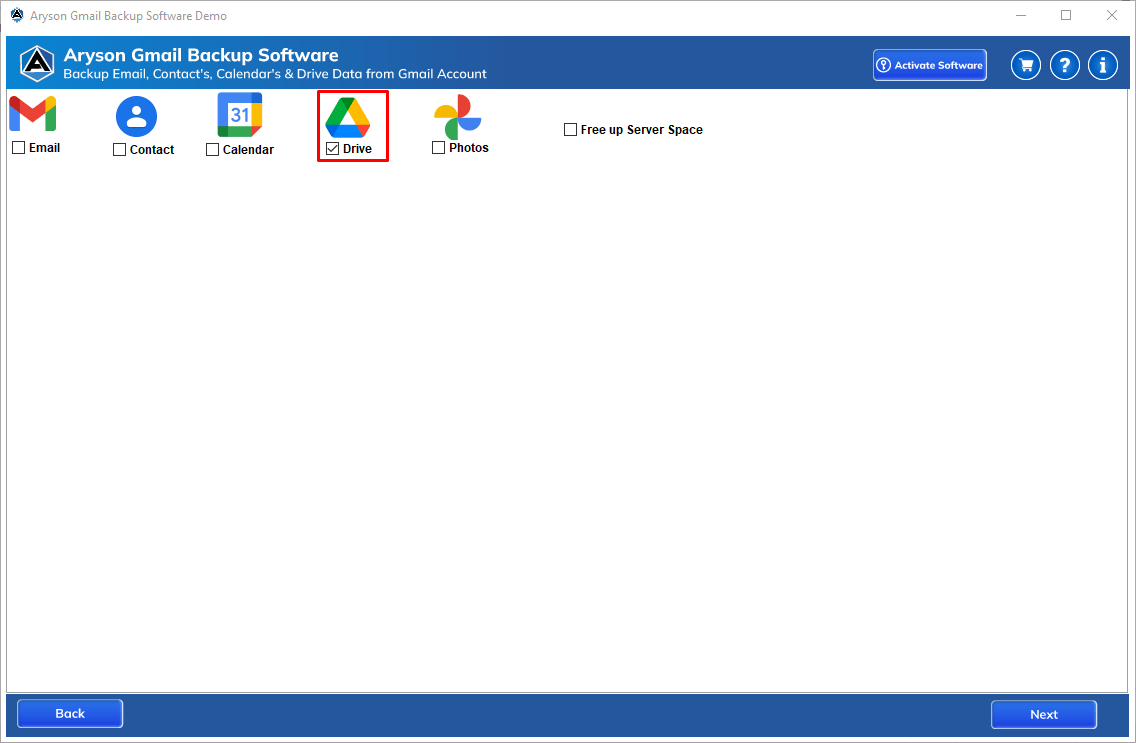
Step 5: You can free-up server space of your Gmail account and delete all the drive data. Click Next.
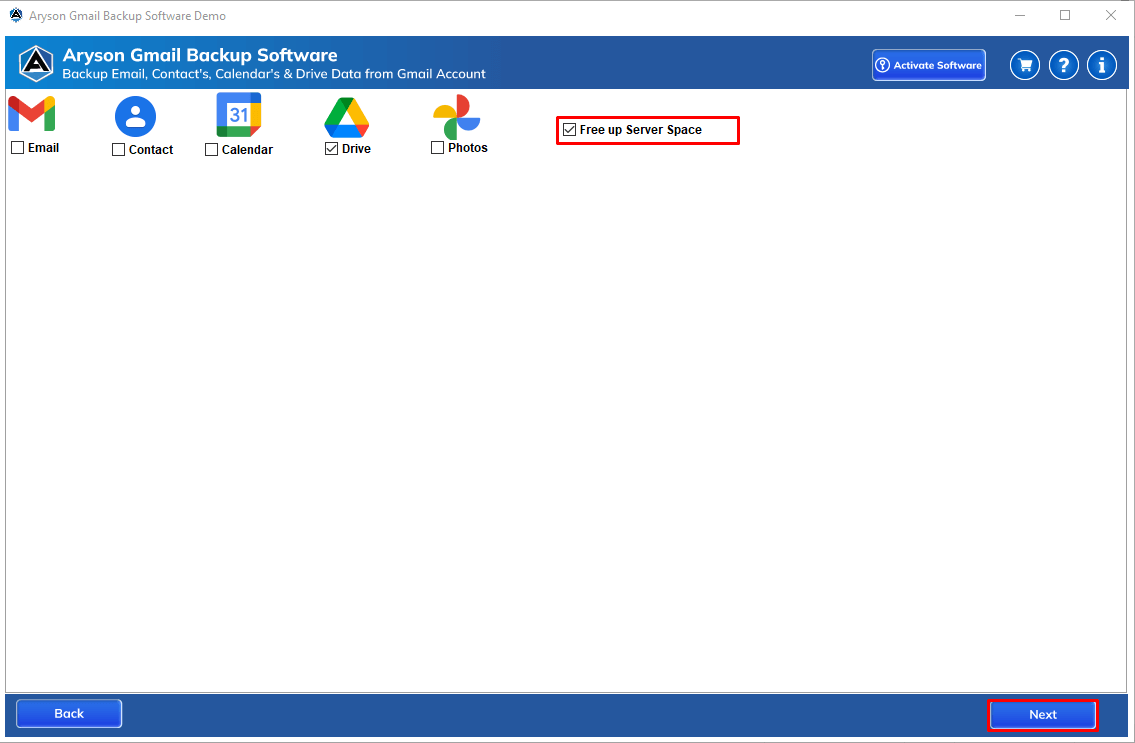
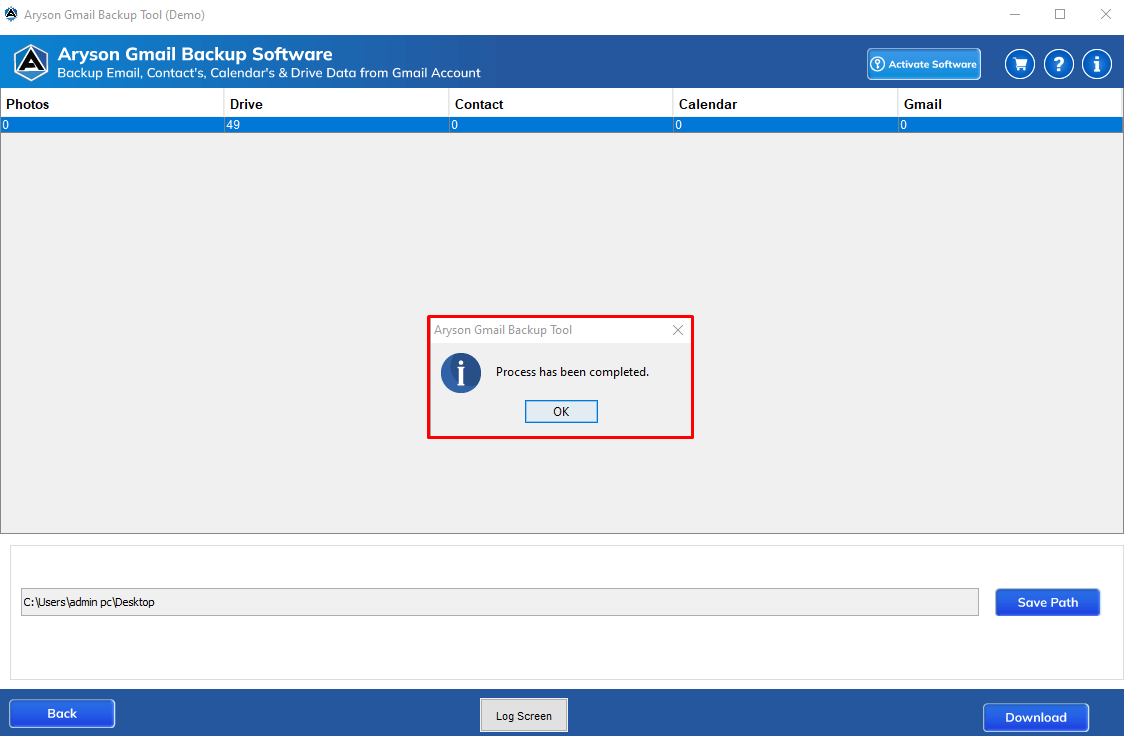
Step 6: Click the Save Path to choose the path for your drive.
Step 7: Now, tap the Download button to save Google Drive.
Step 1: First, Download, Install and Launch the Gmail Backup Tool as an administrator.
Step 2: Enter your Gmail email address and click on the Sign in button.
Step 3: You need to allow multiple access for the software (Mails, Contacts, Calendars, Drives and Photos) and click Continue.
Step 4: Check the Photos option.

Step 5: Click the Next button.
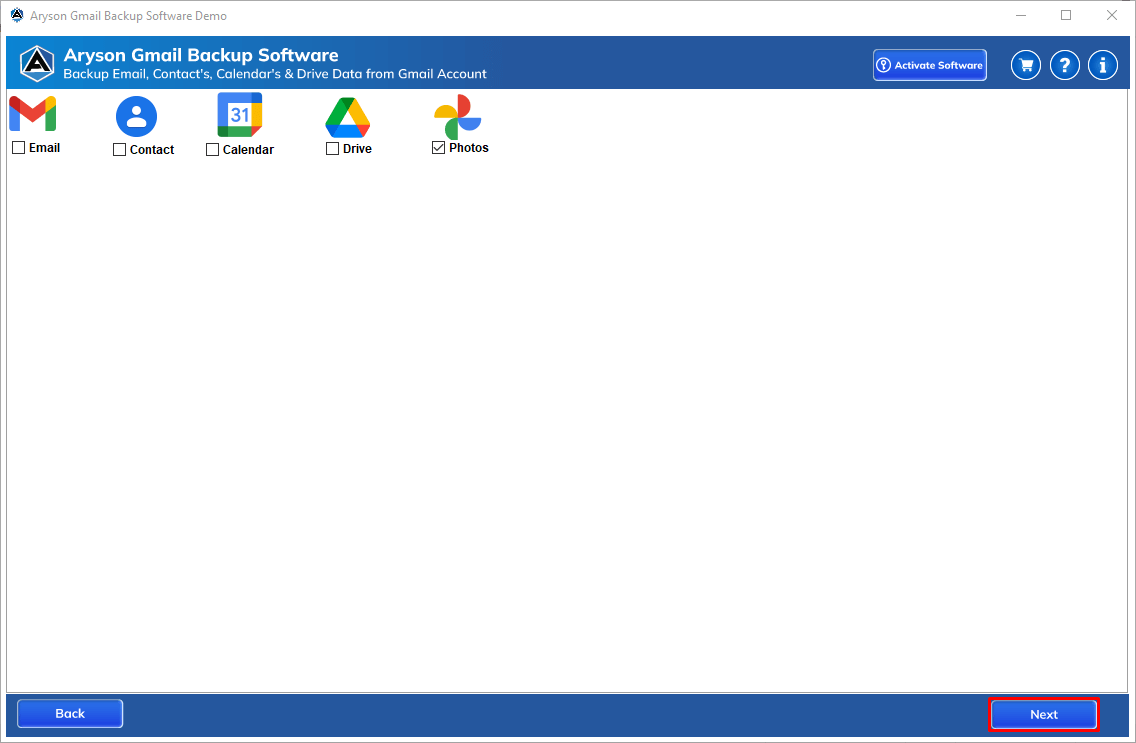
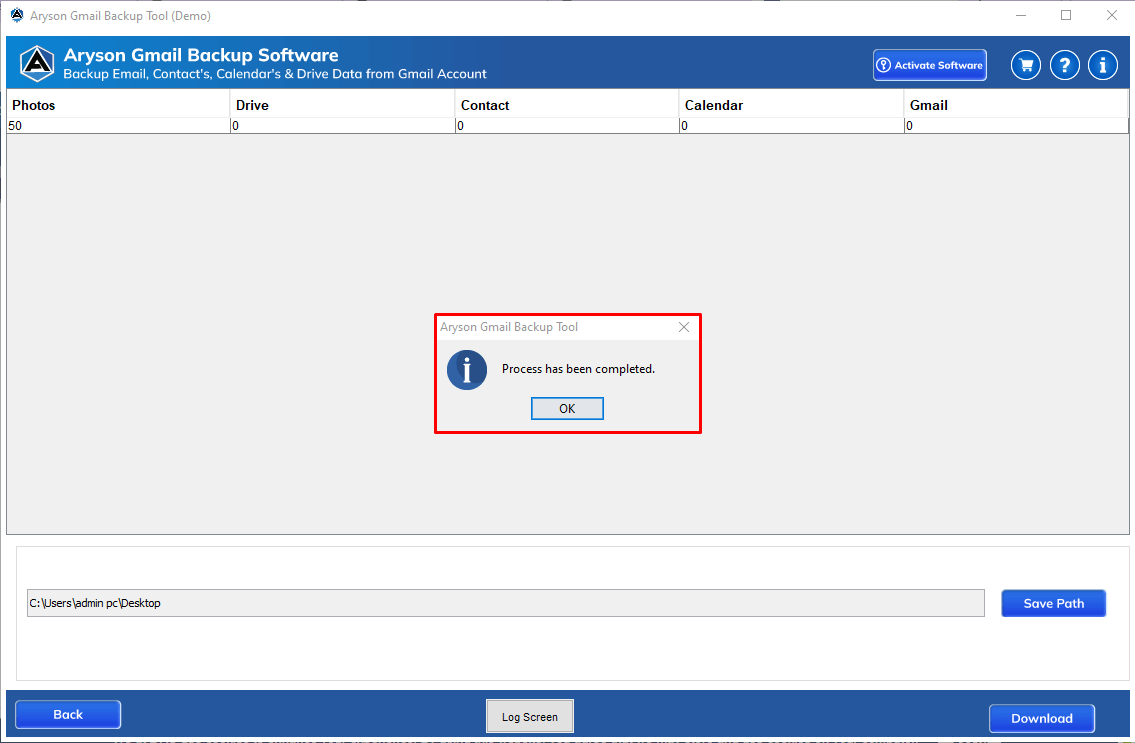
Step 6: Click the Save Path to choose the path for your photos.
Step 7: Now, tap the Download button to save Google Photos.
Activation Guide
Activate the Software
Installation & Uninstallation
Installation & Uninstallation of Software
User Interface
User Interface
After downloading the Aryson Gmail Backup Software, you will find the welcome screen as played below.